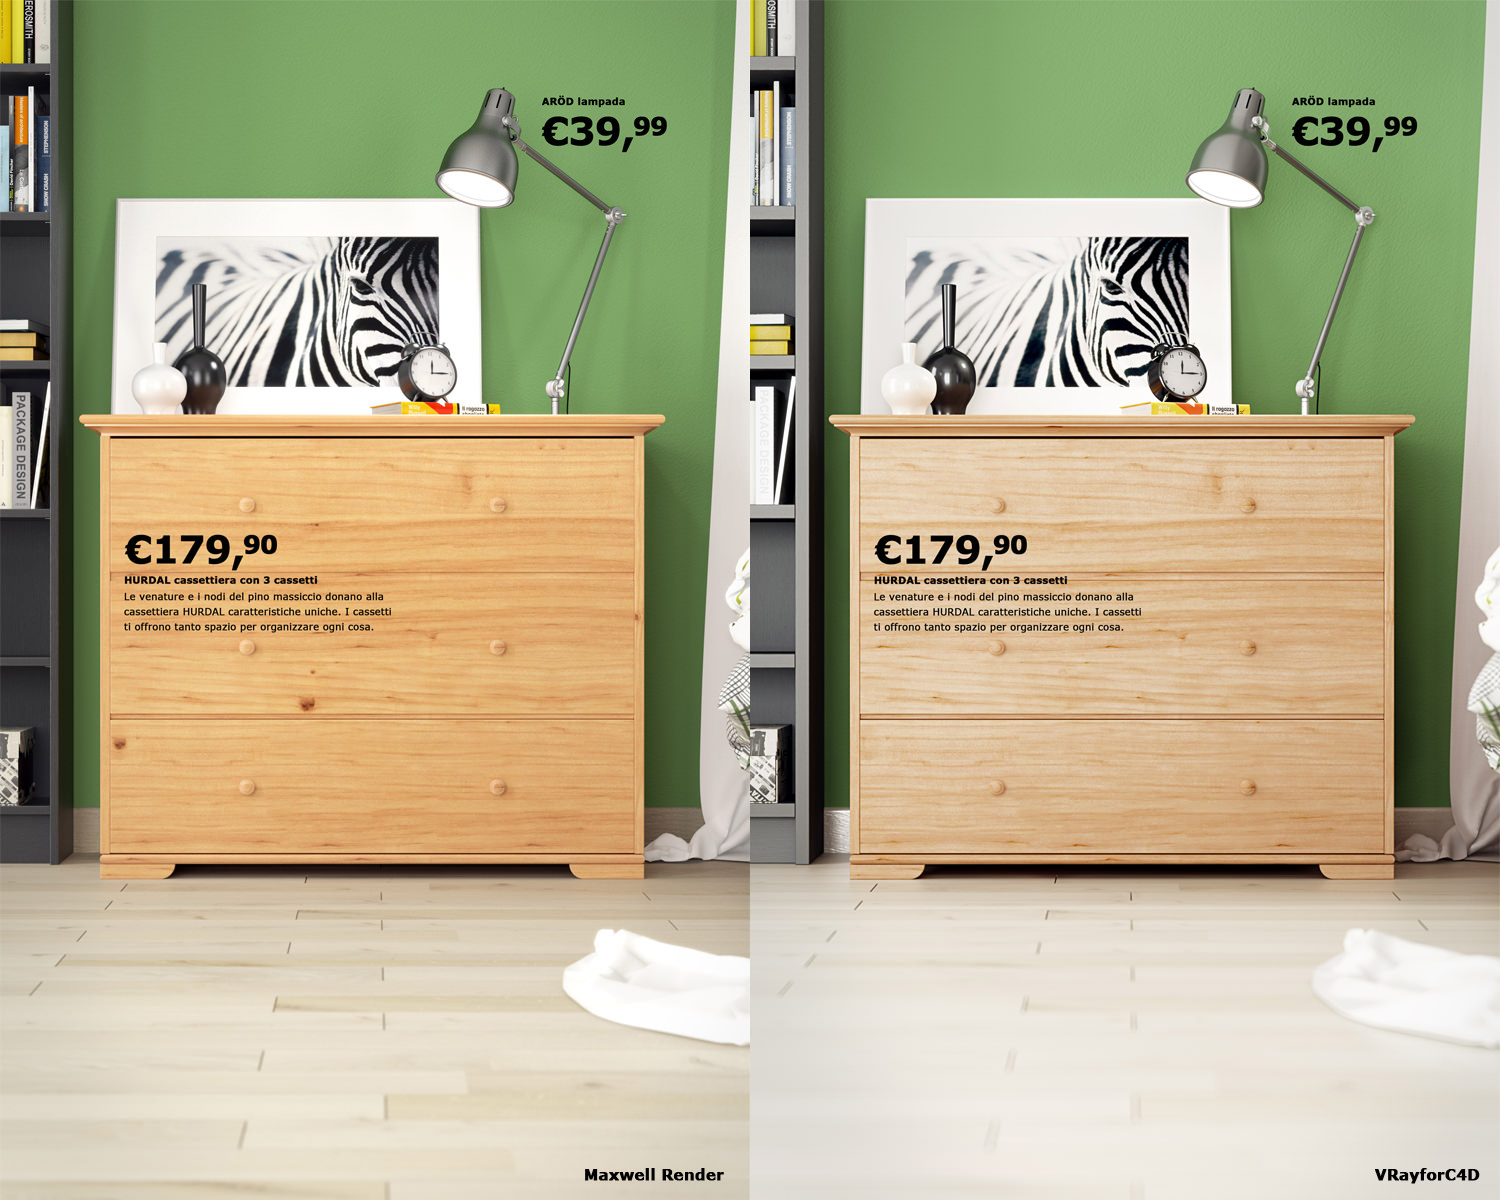
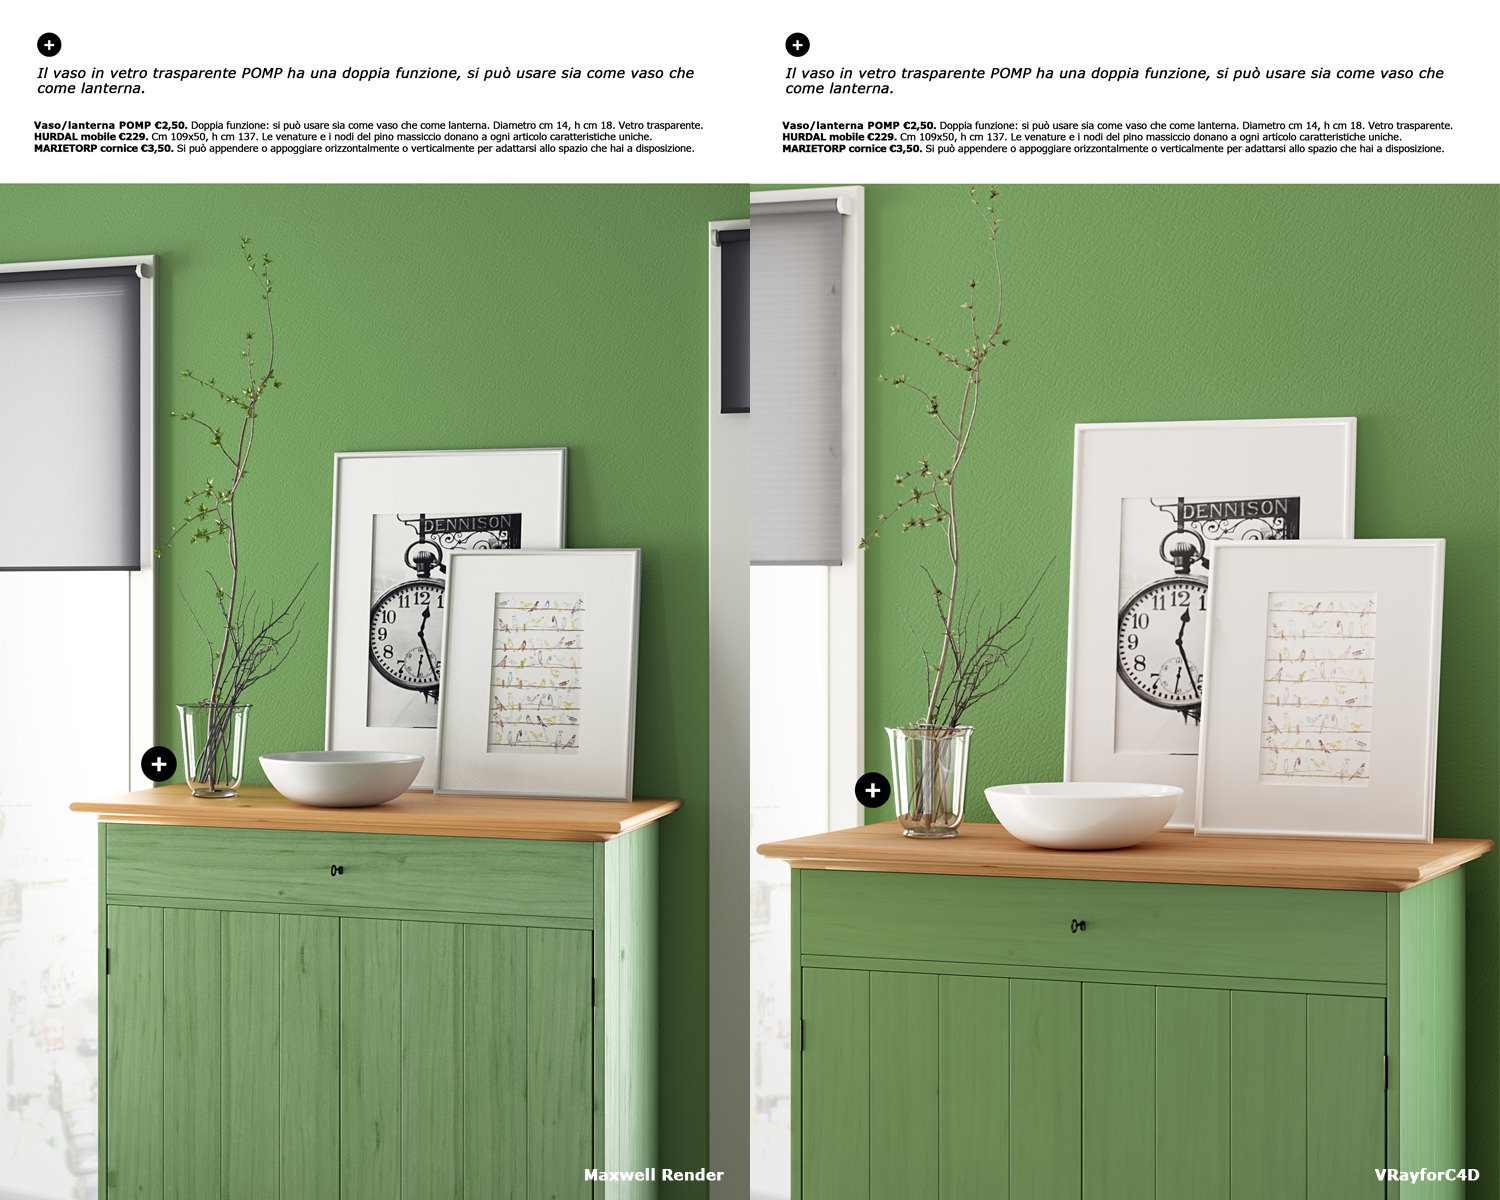
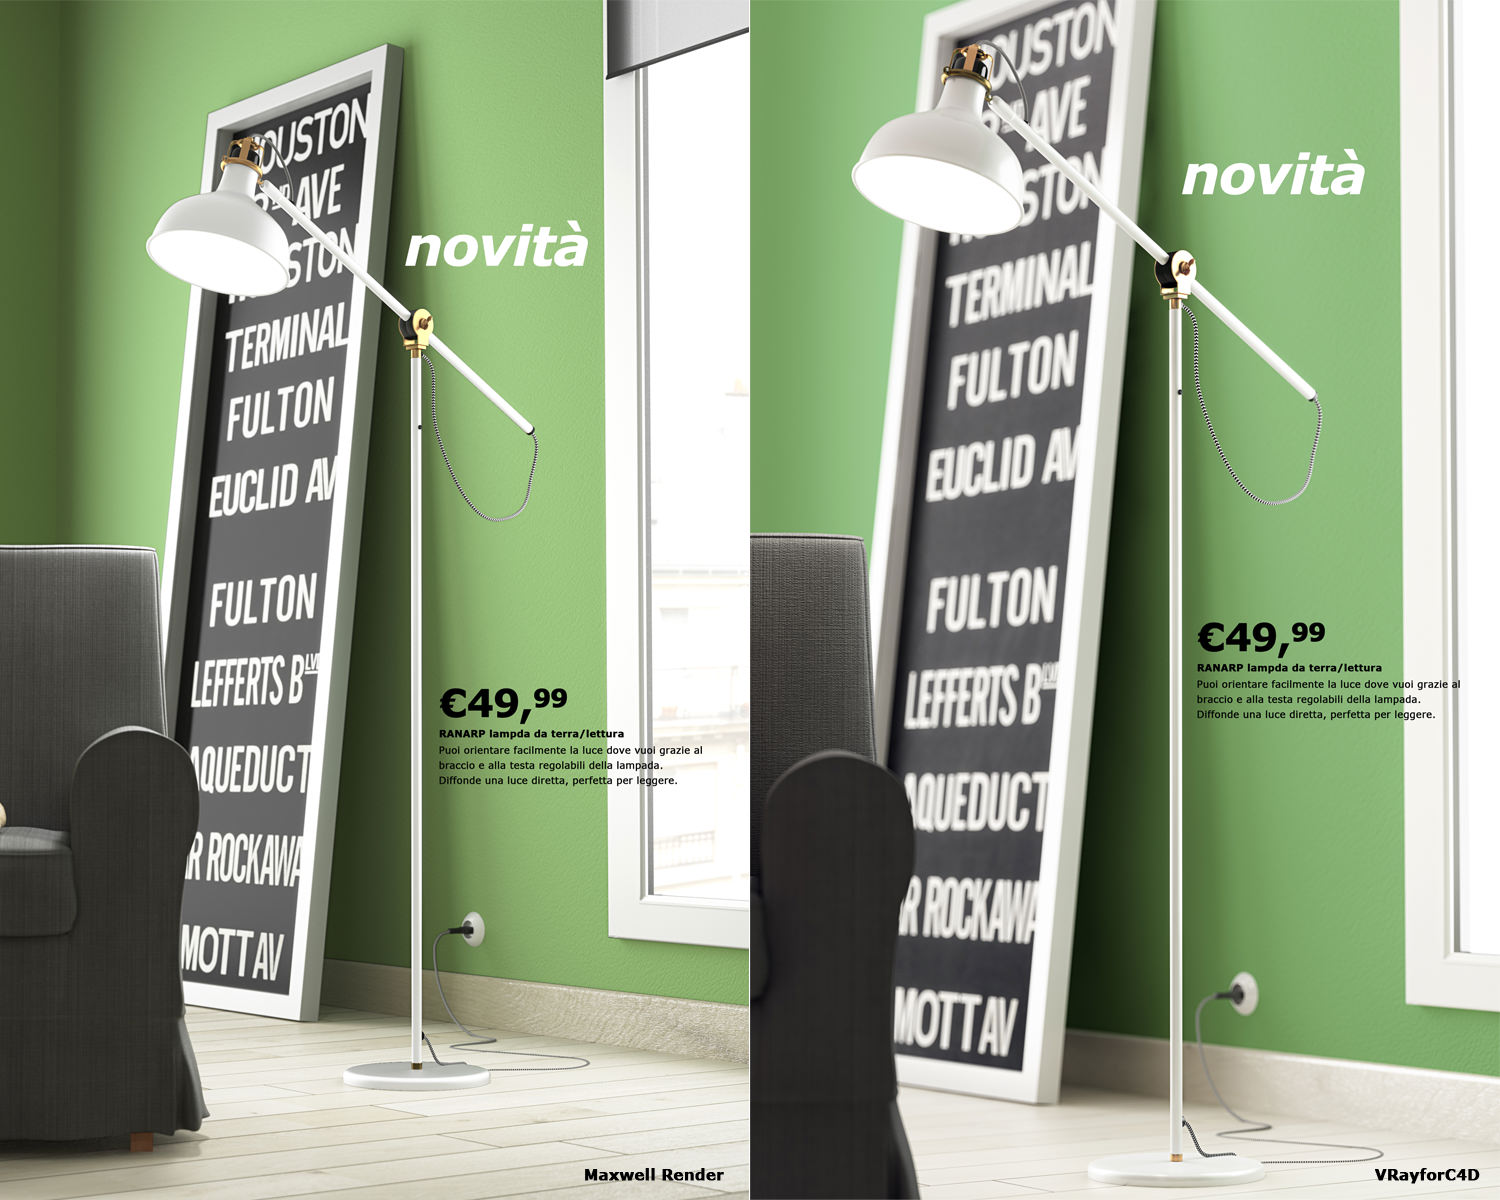
Ikea scene: update with Octane Render
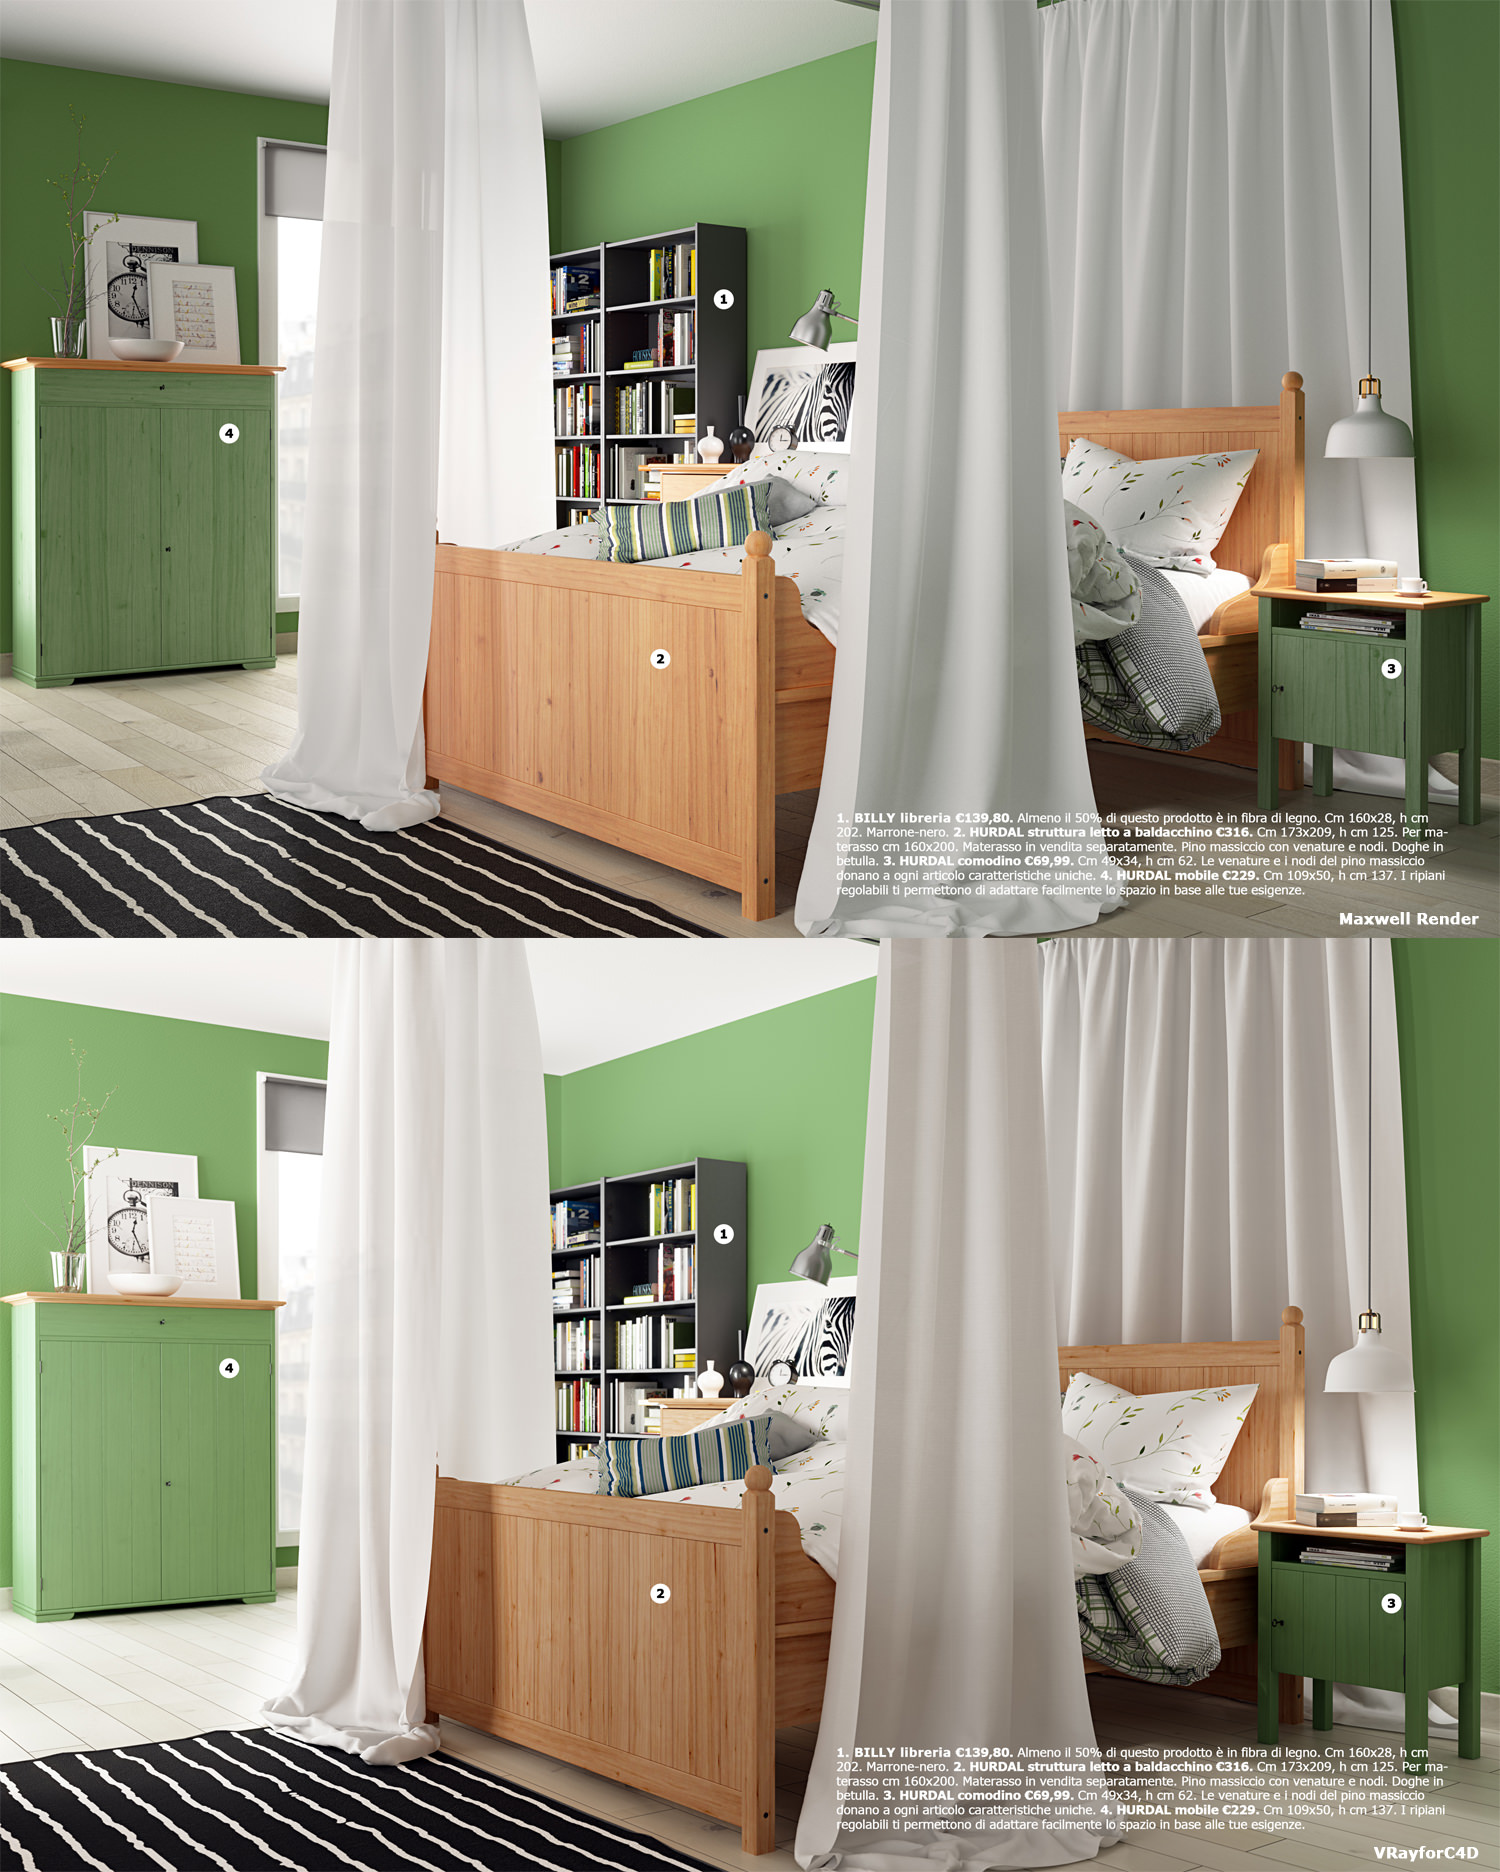
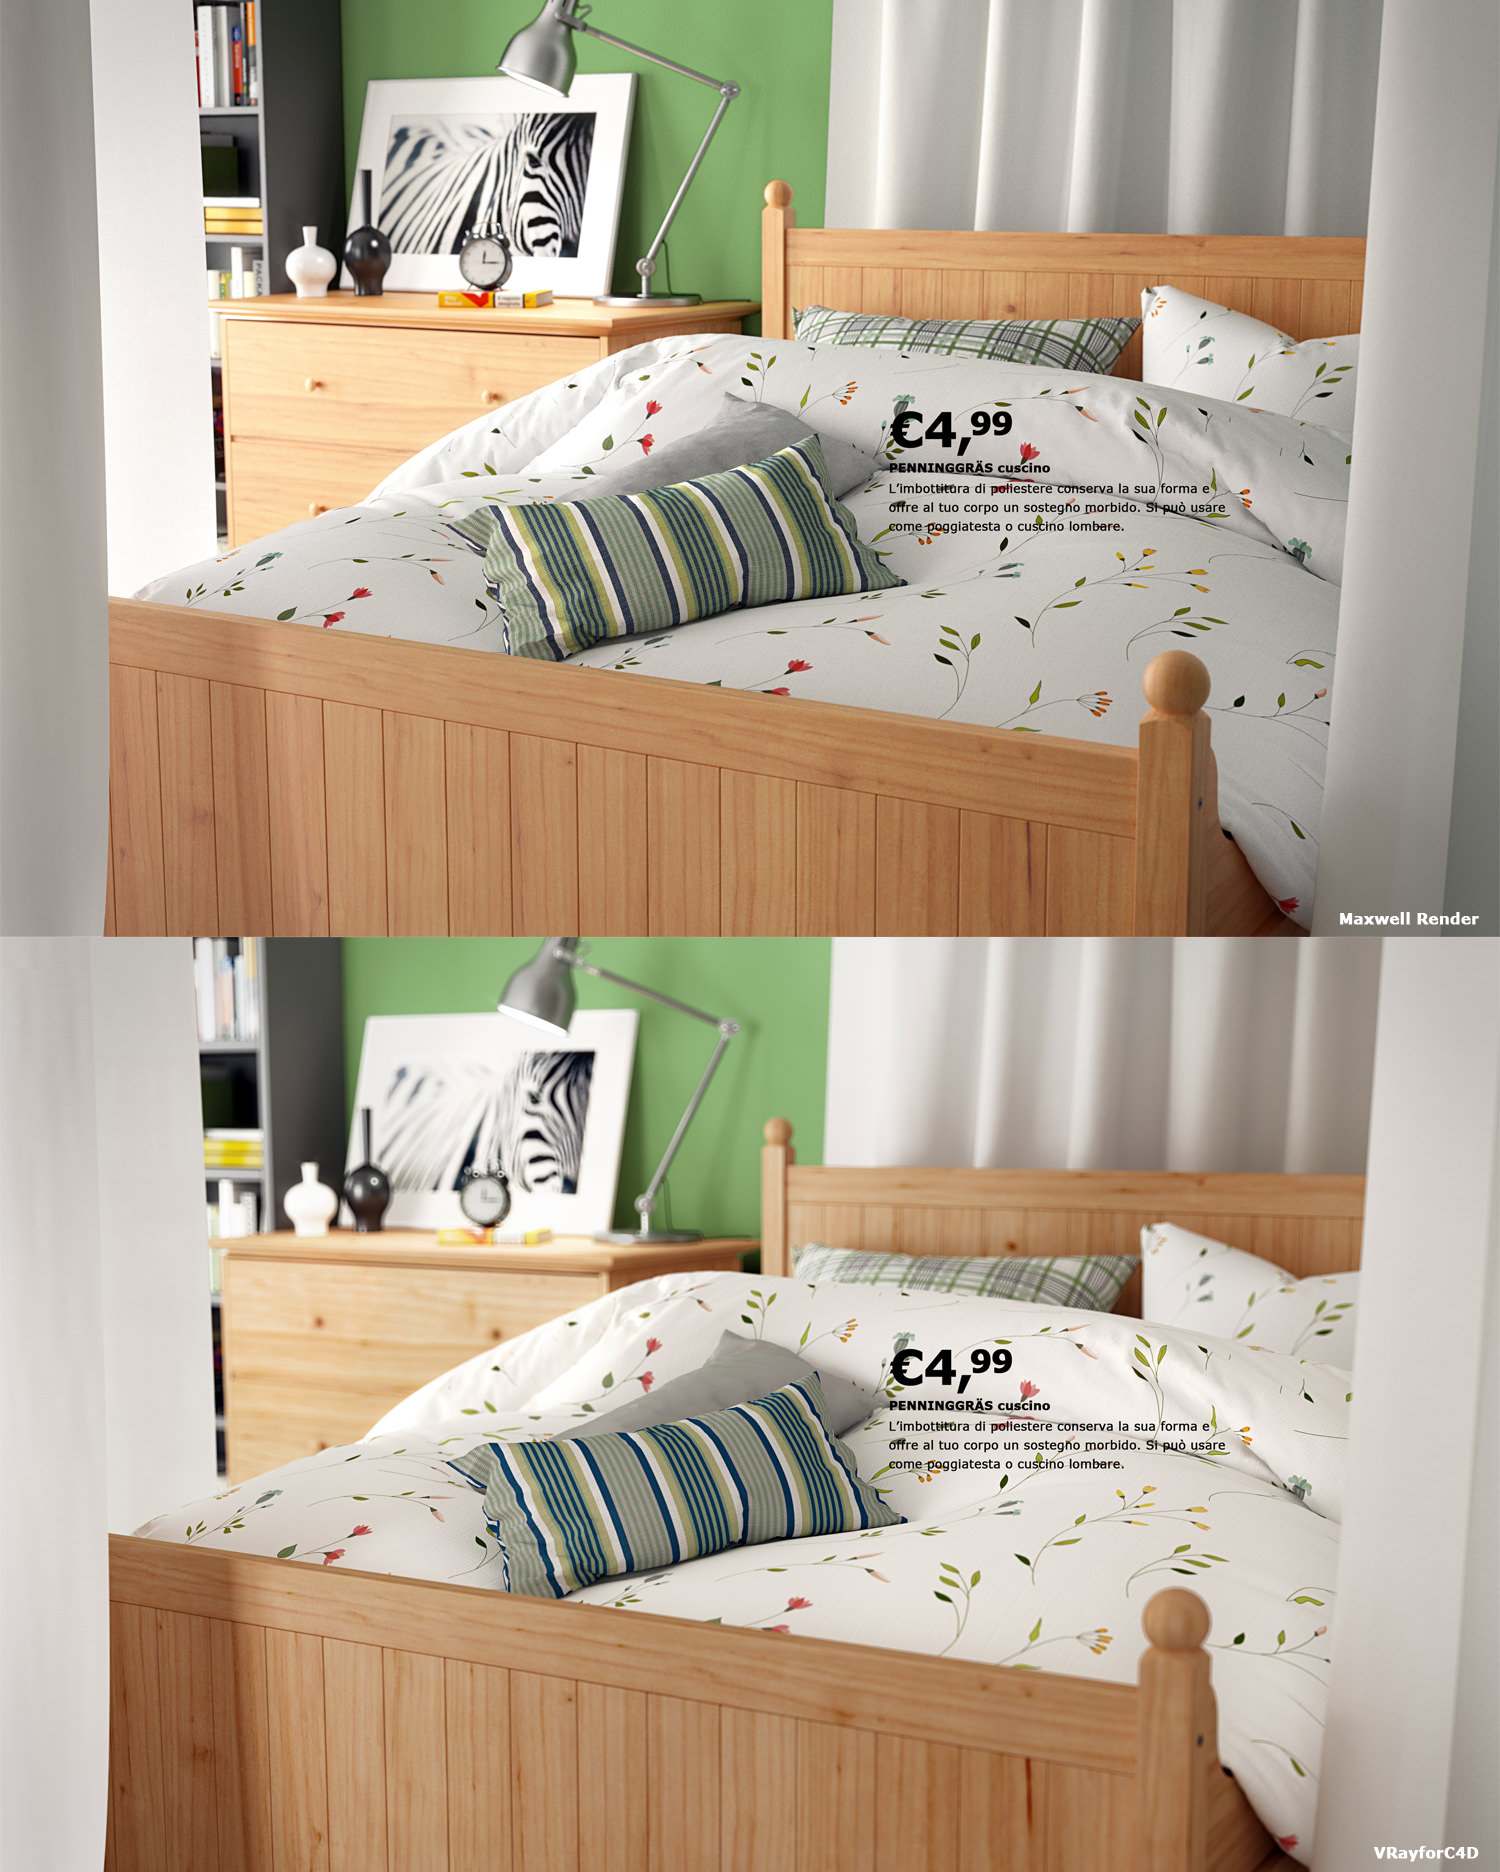
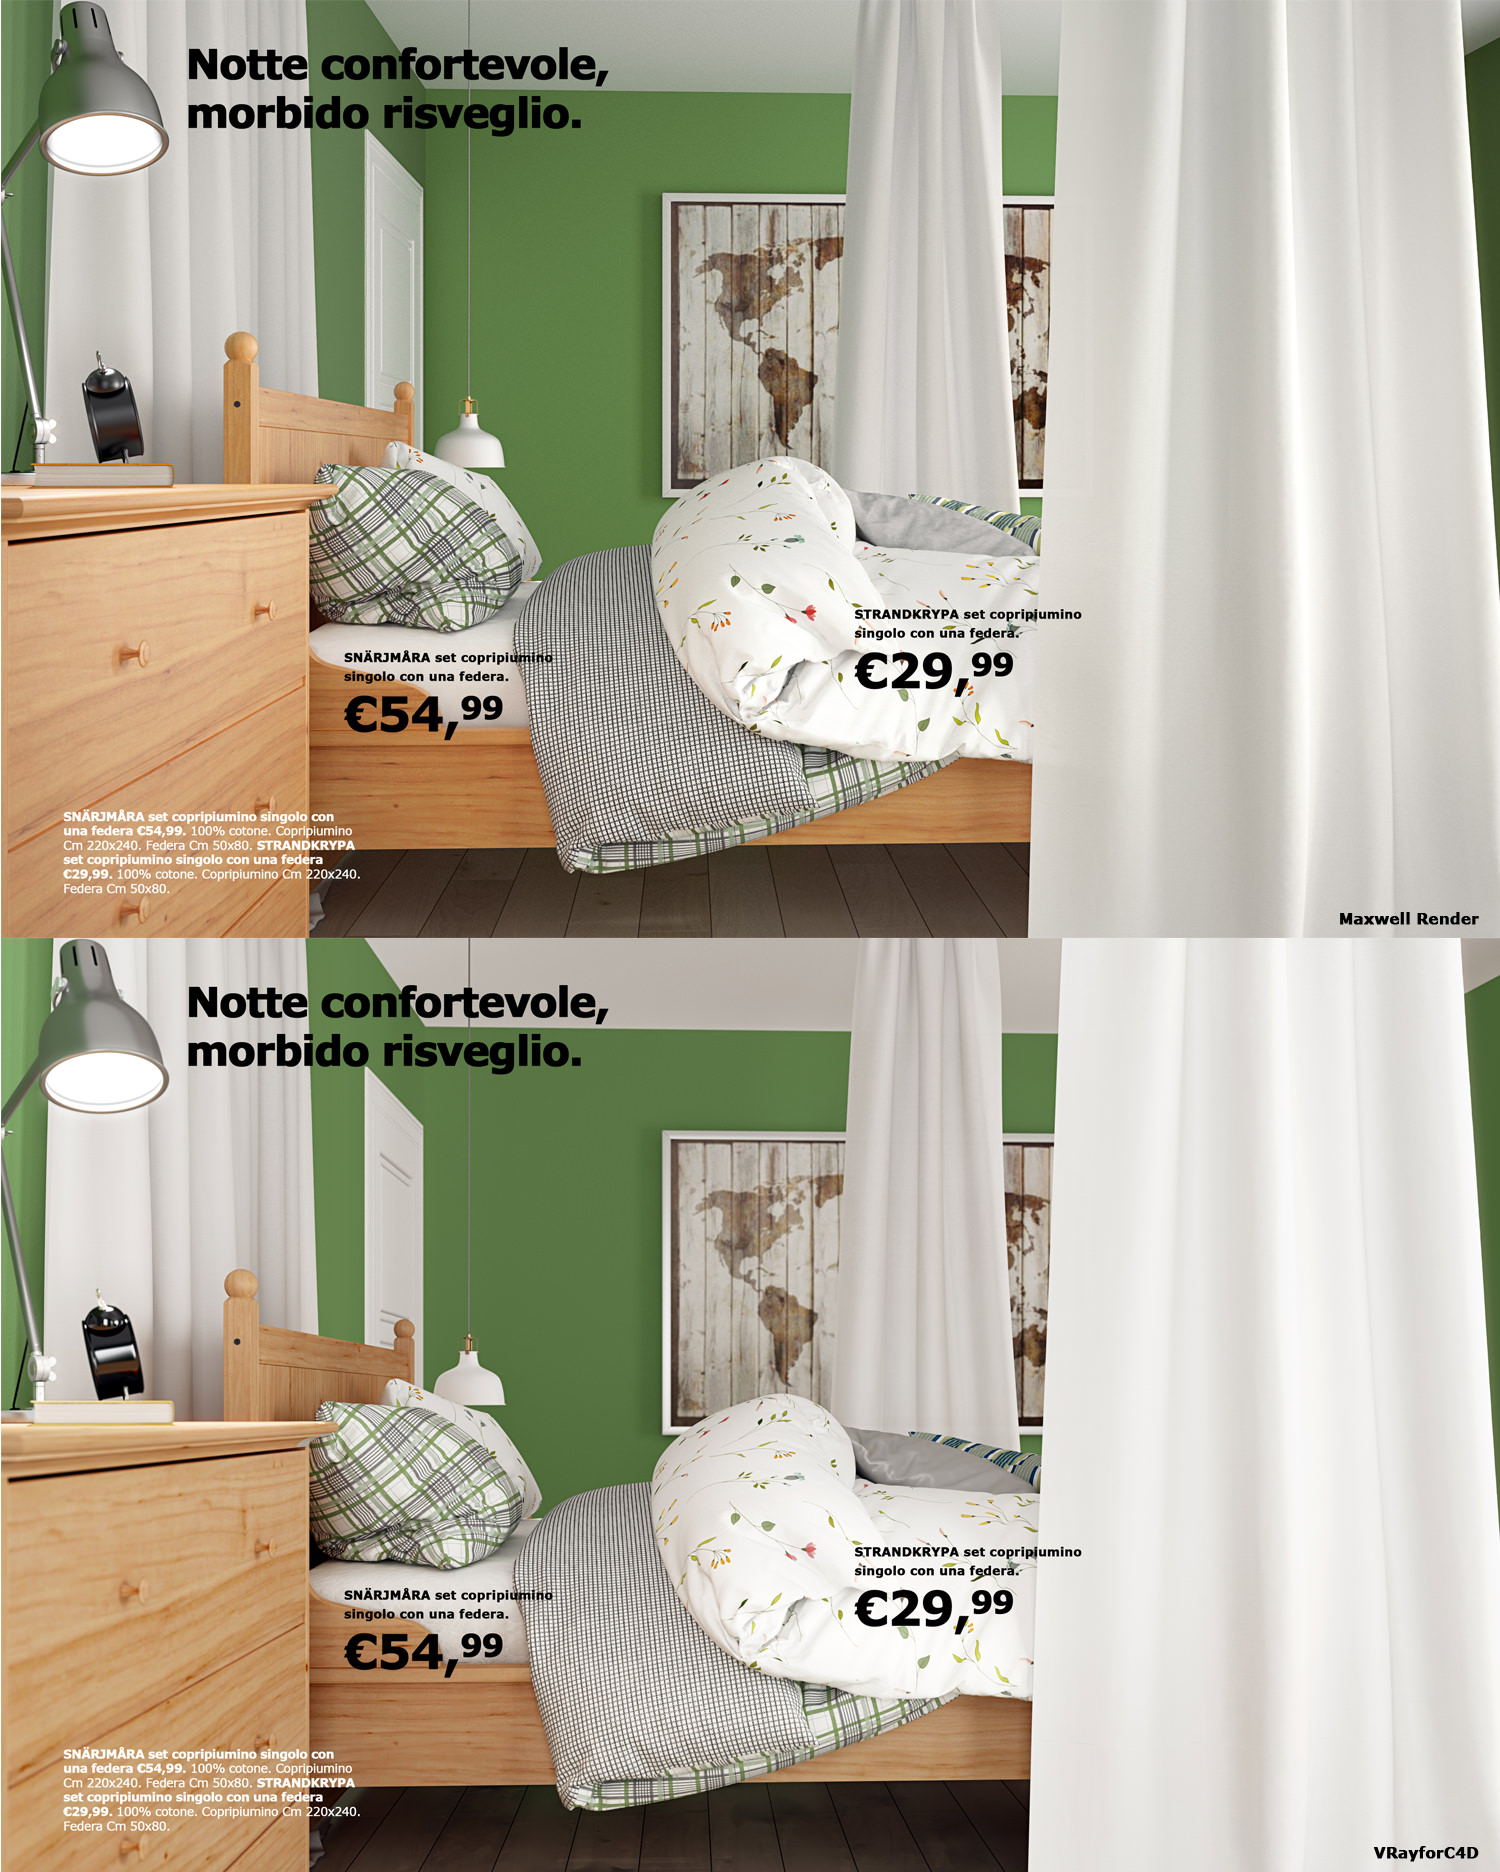
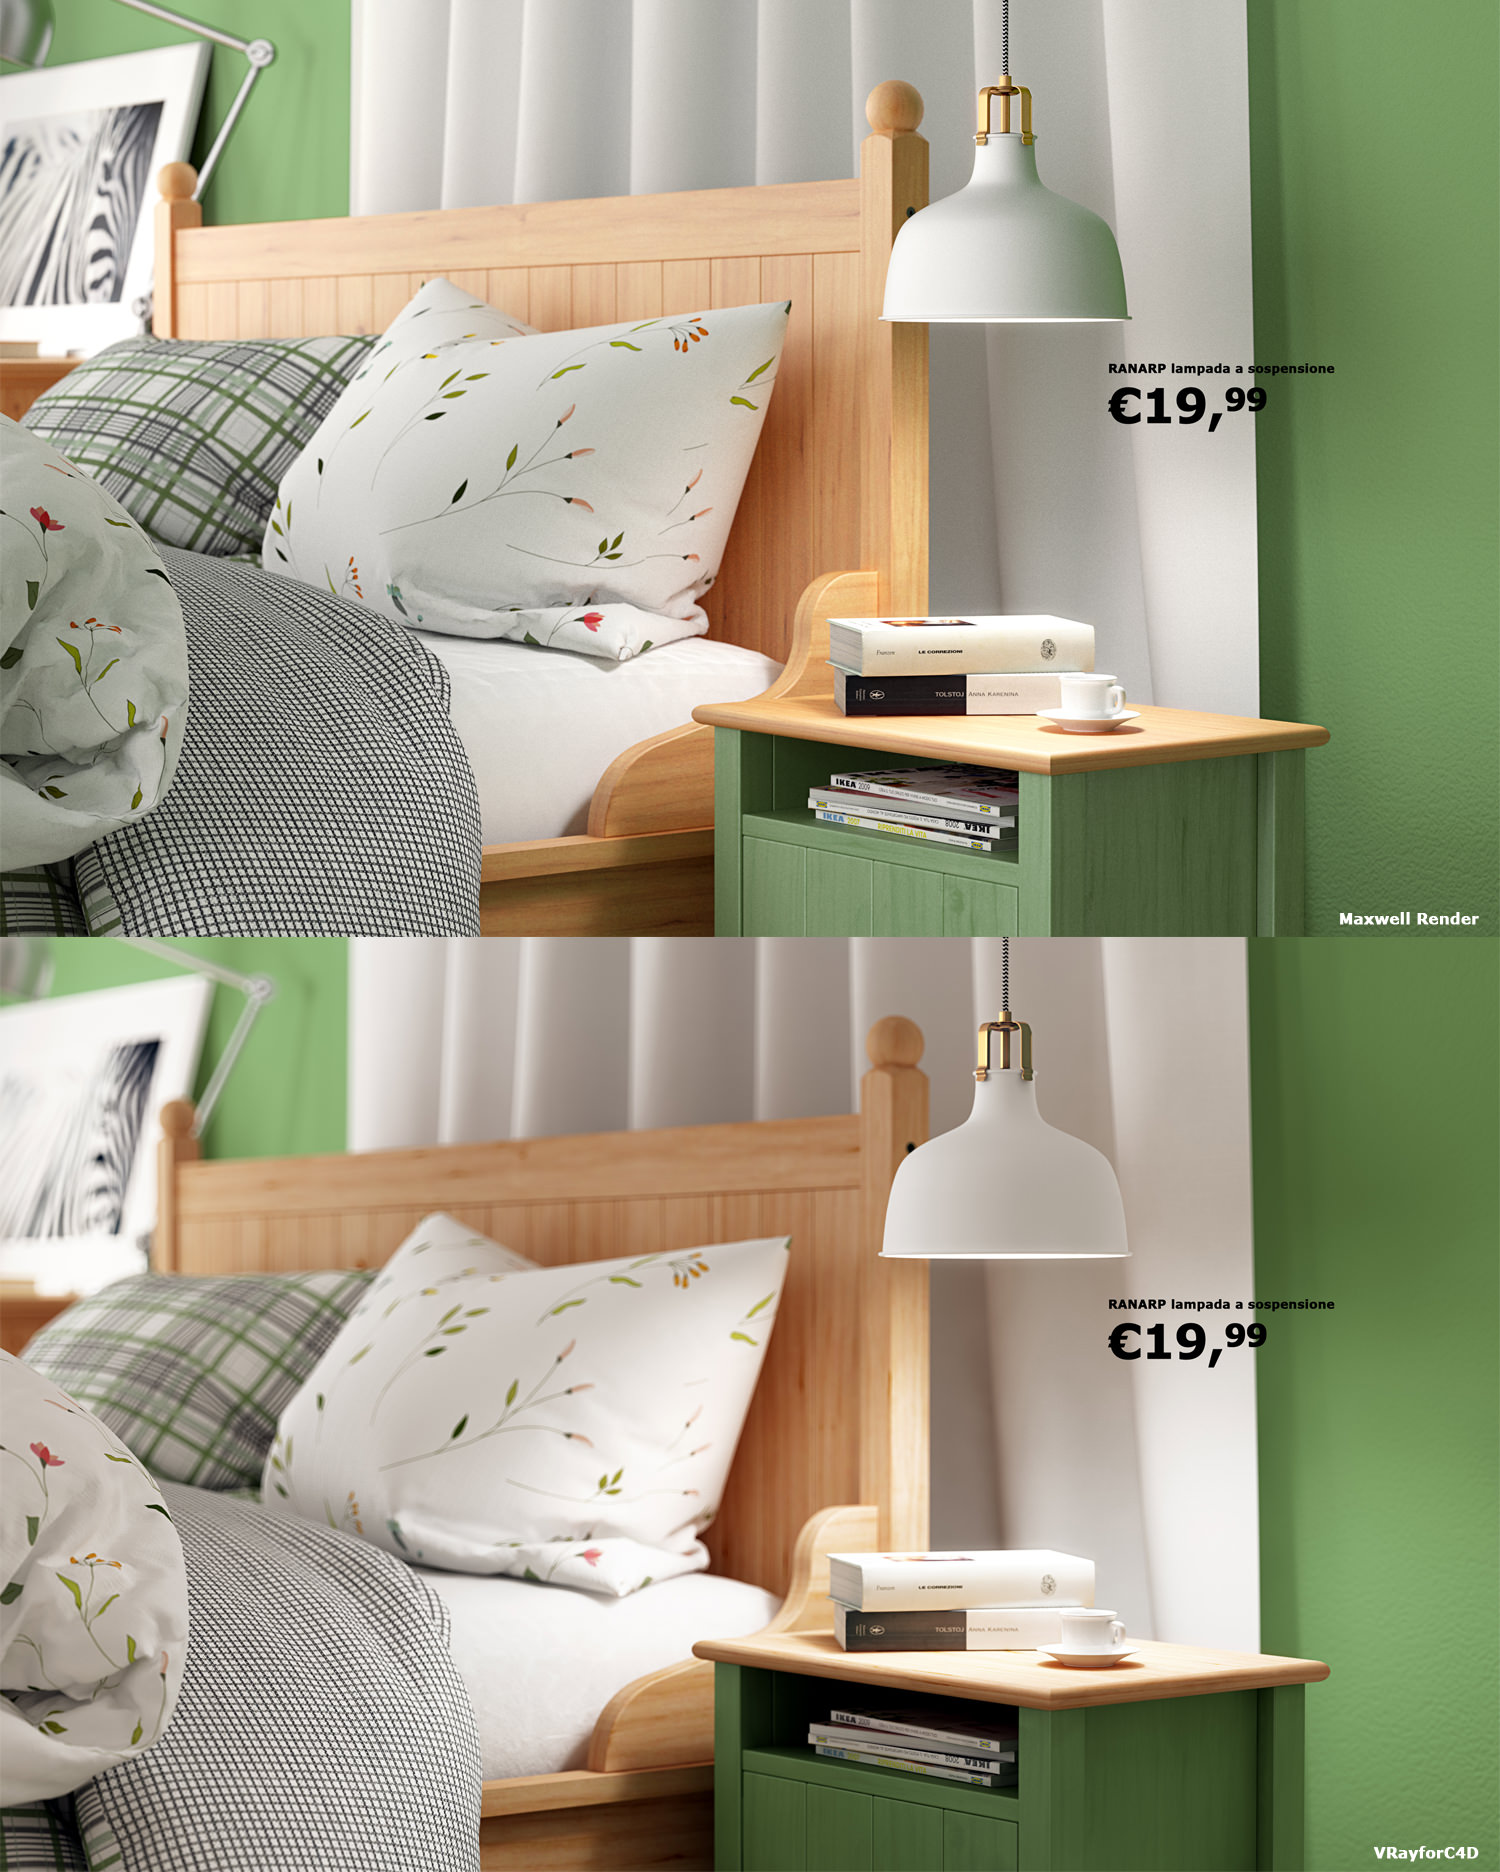
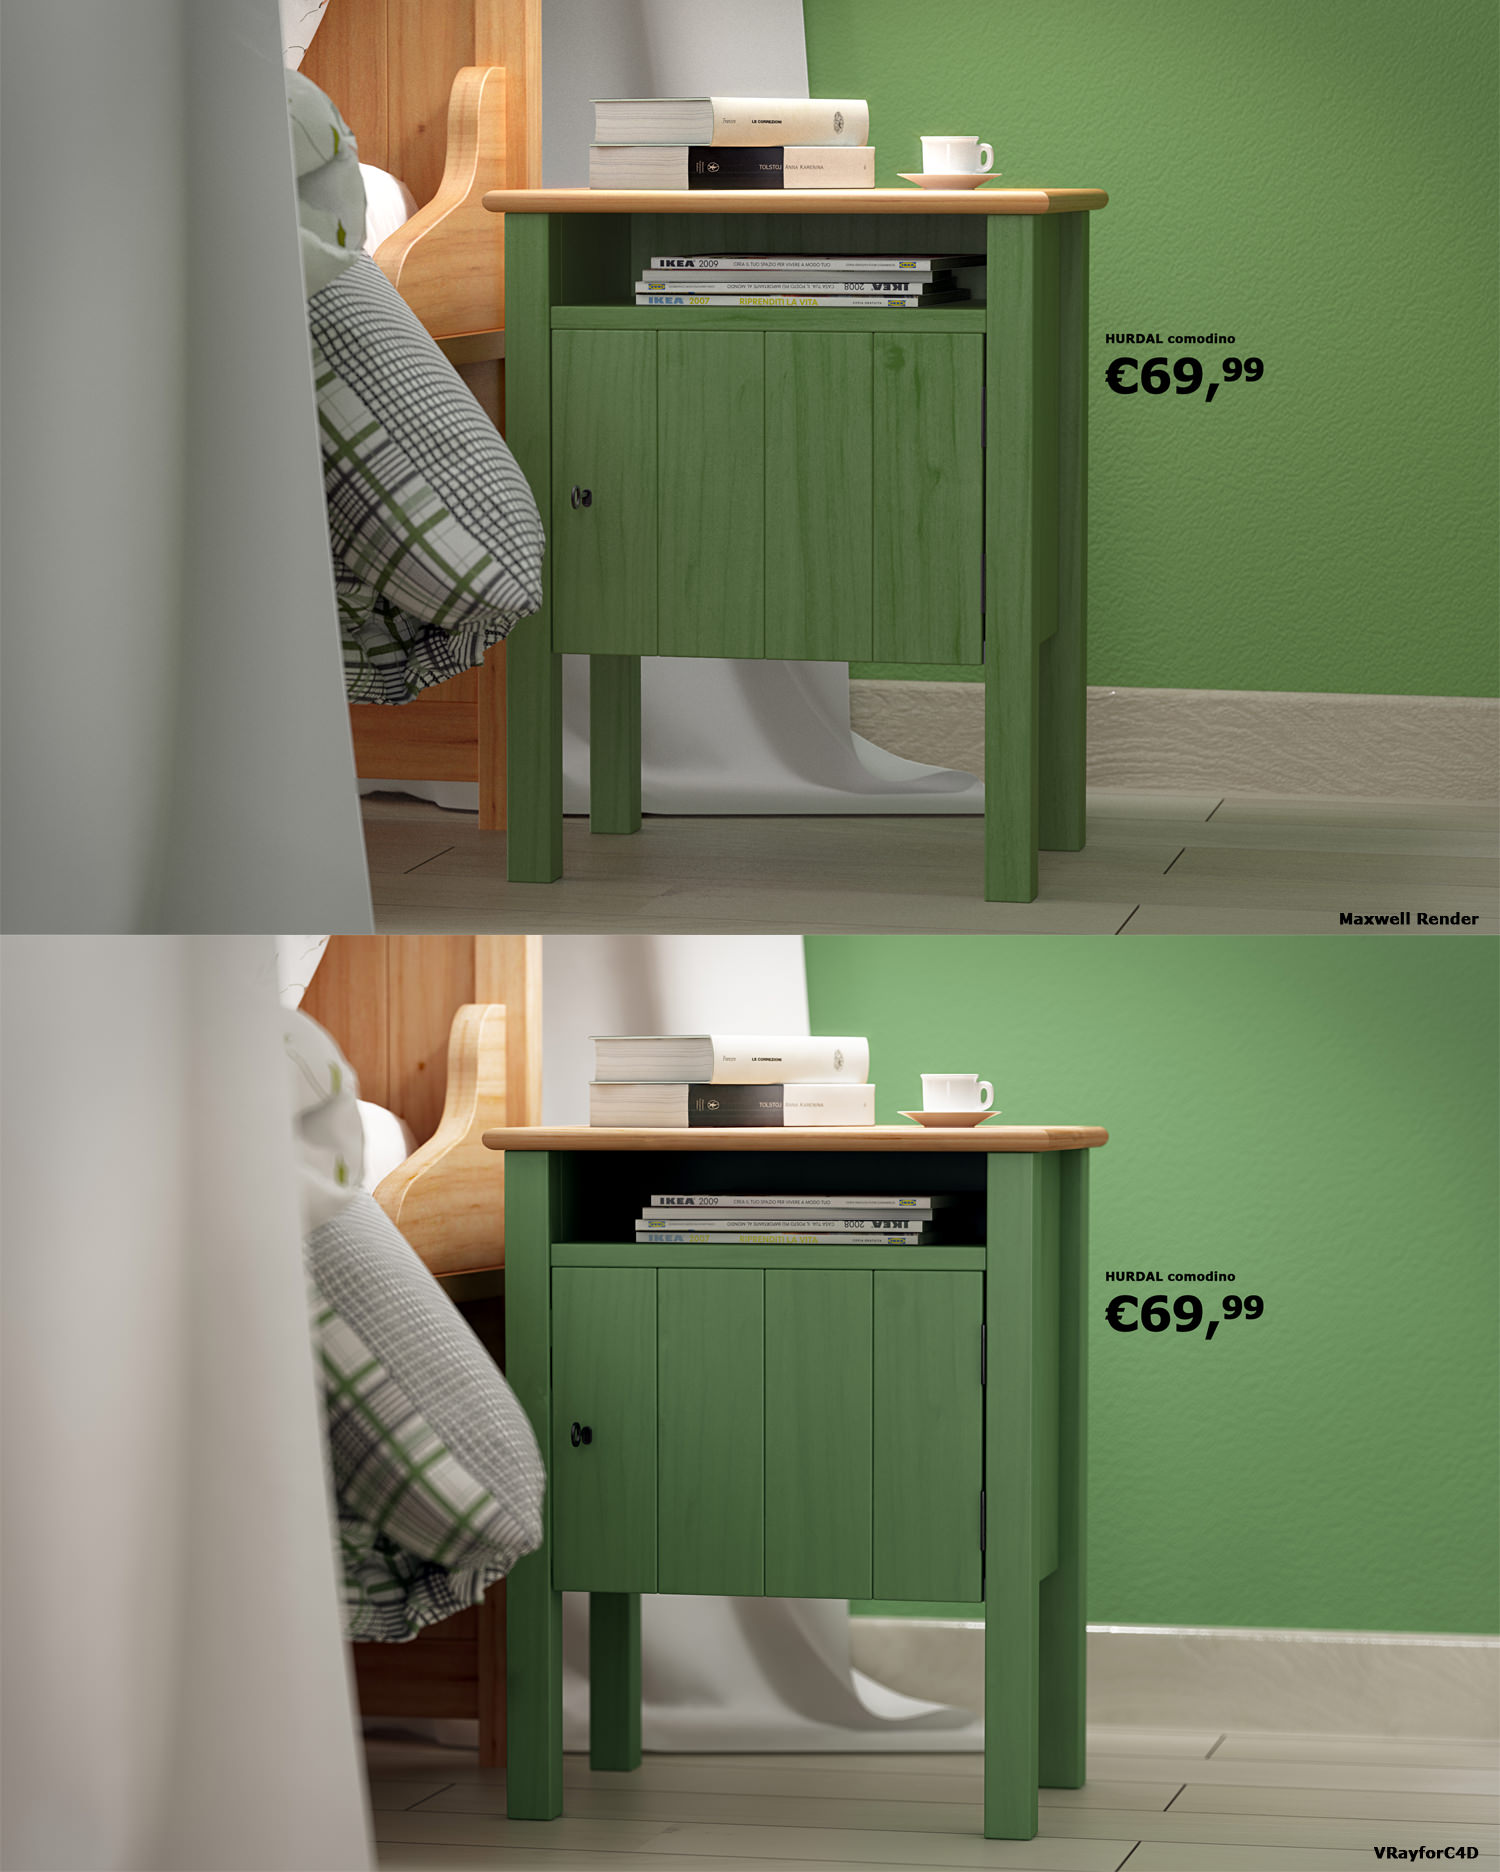
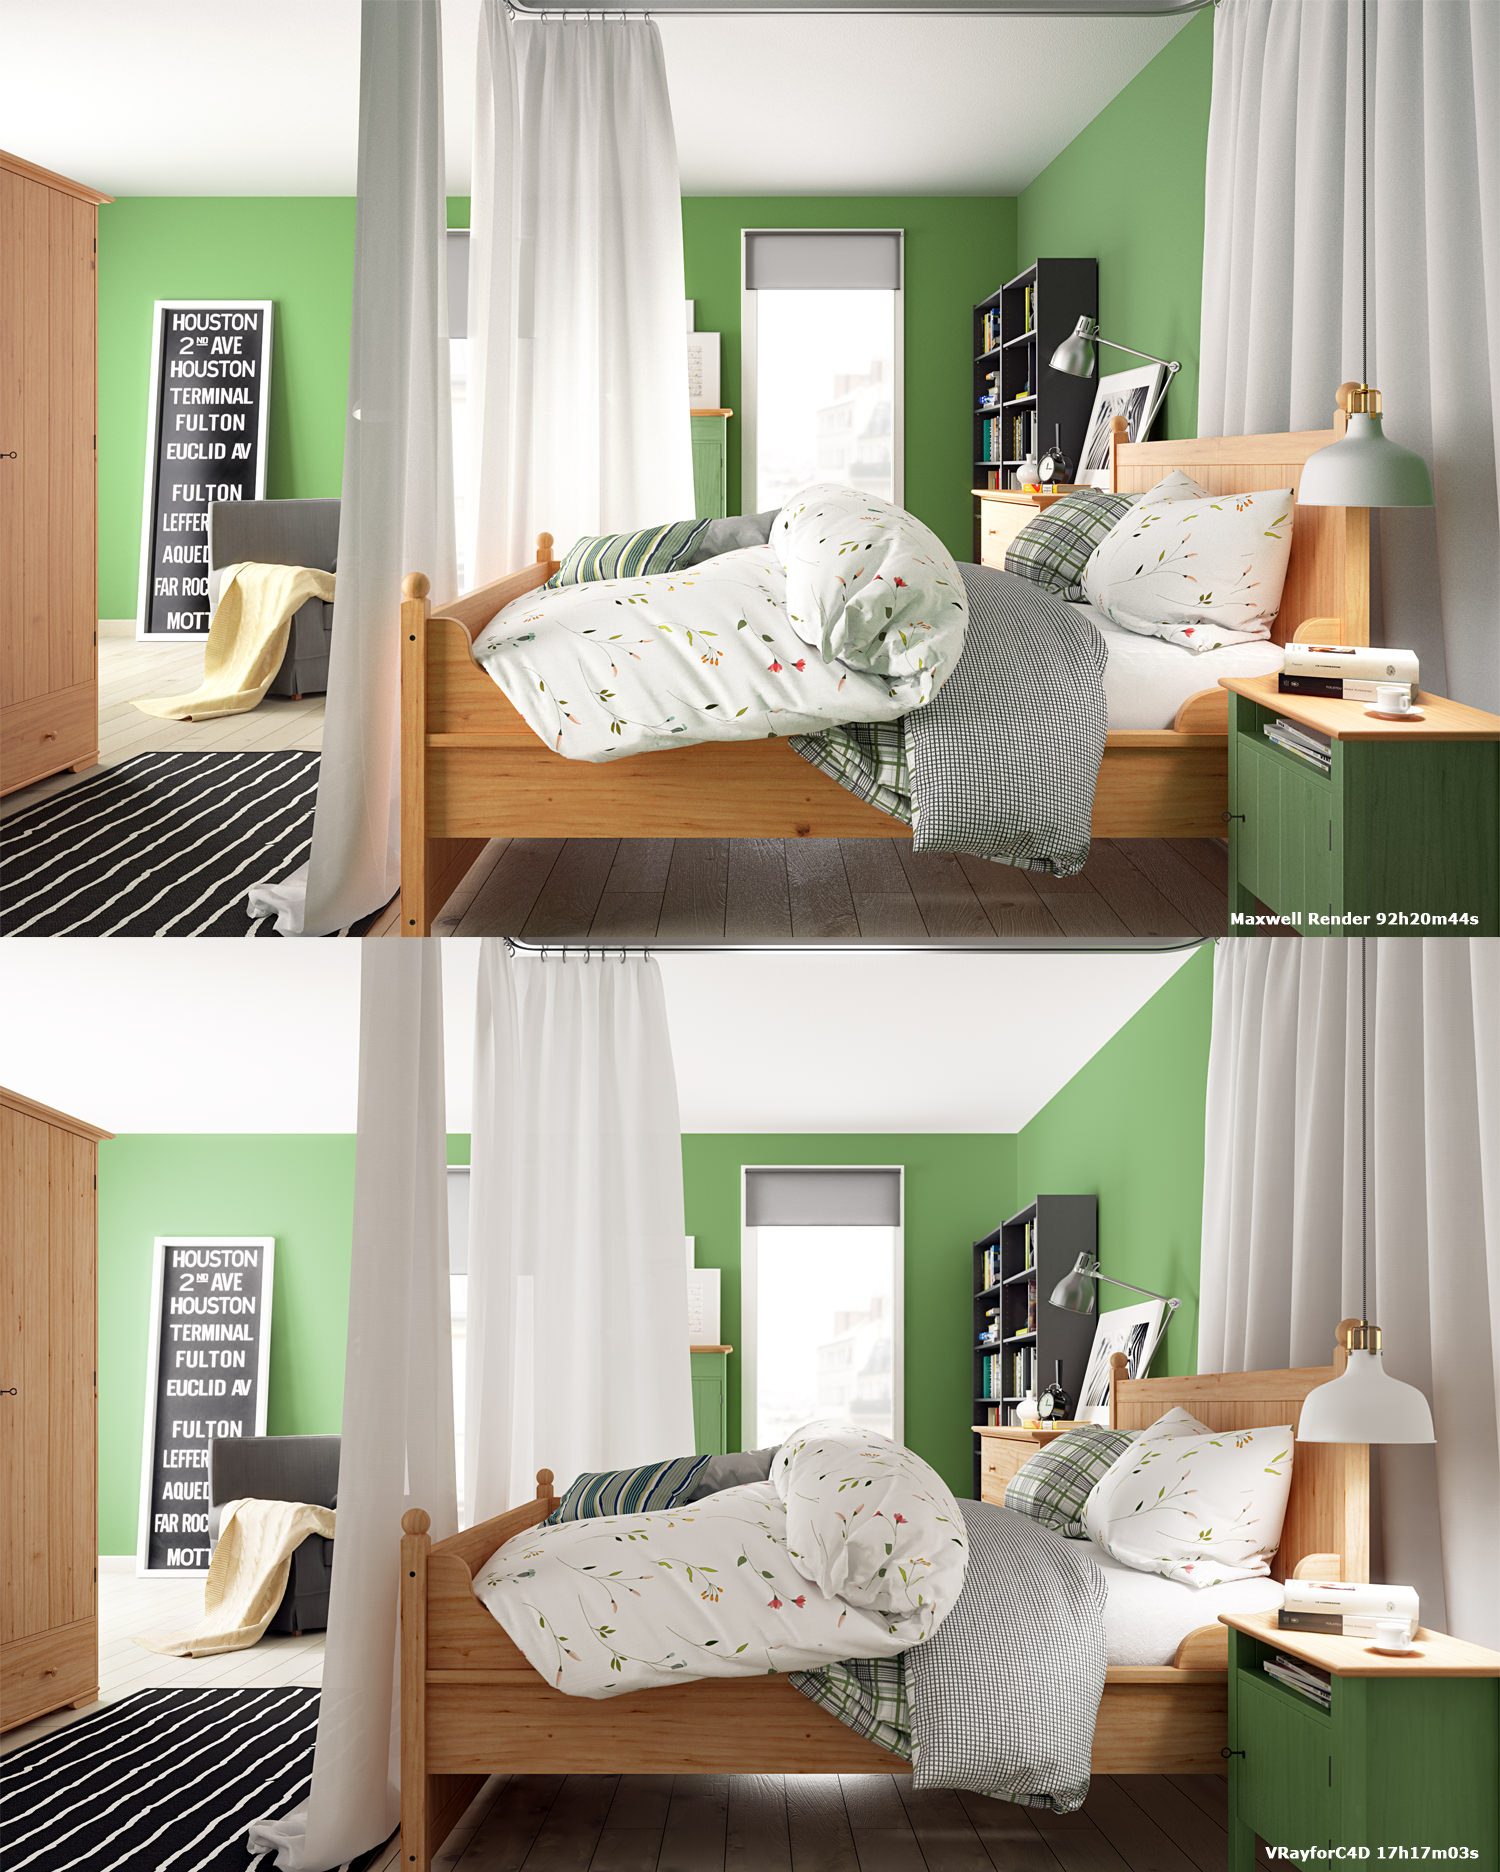
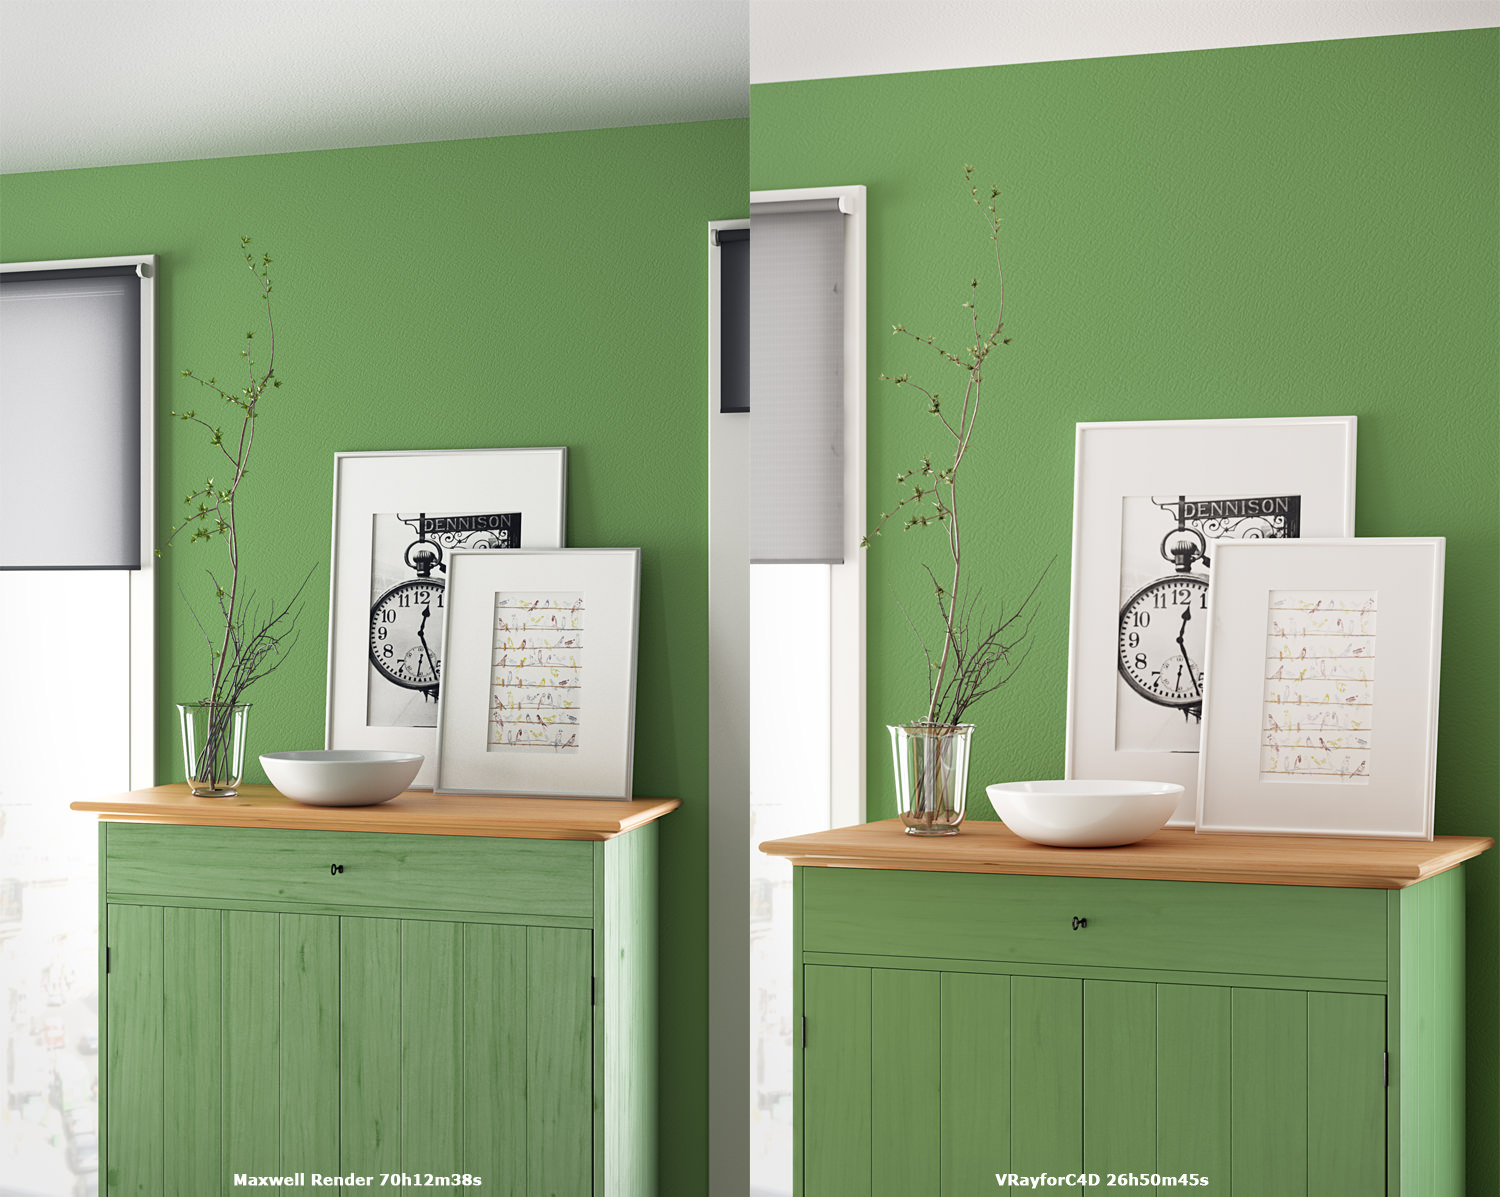
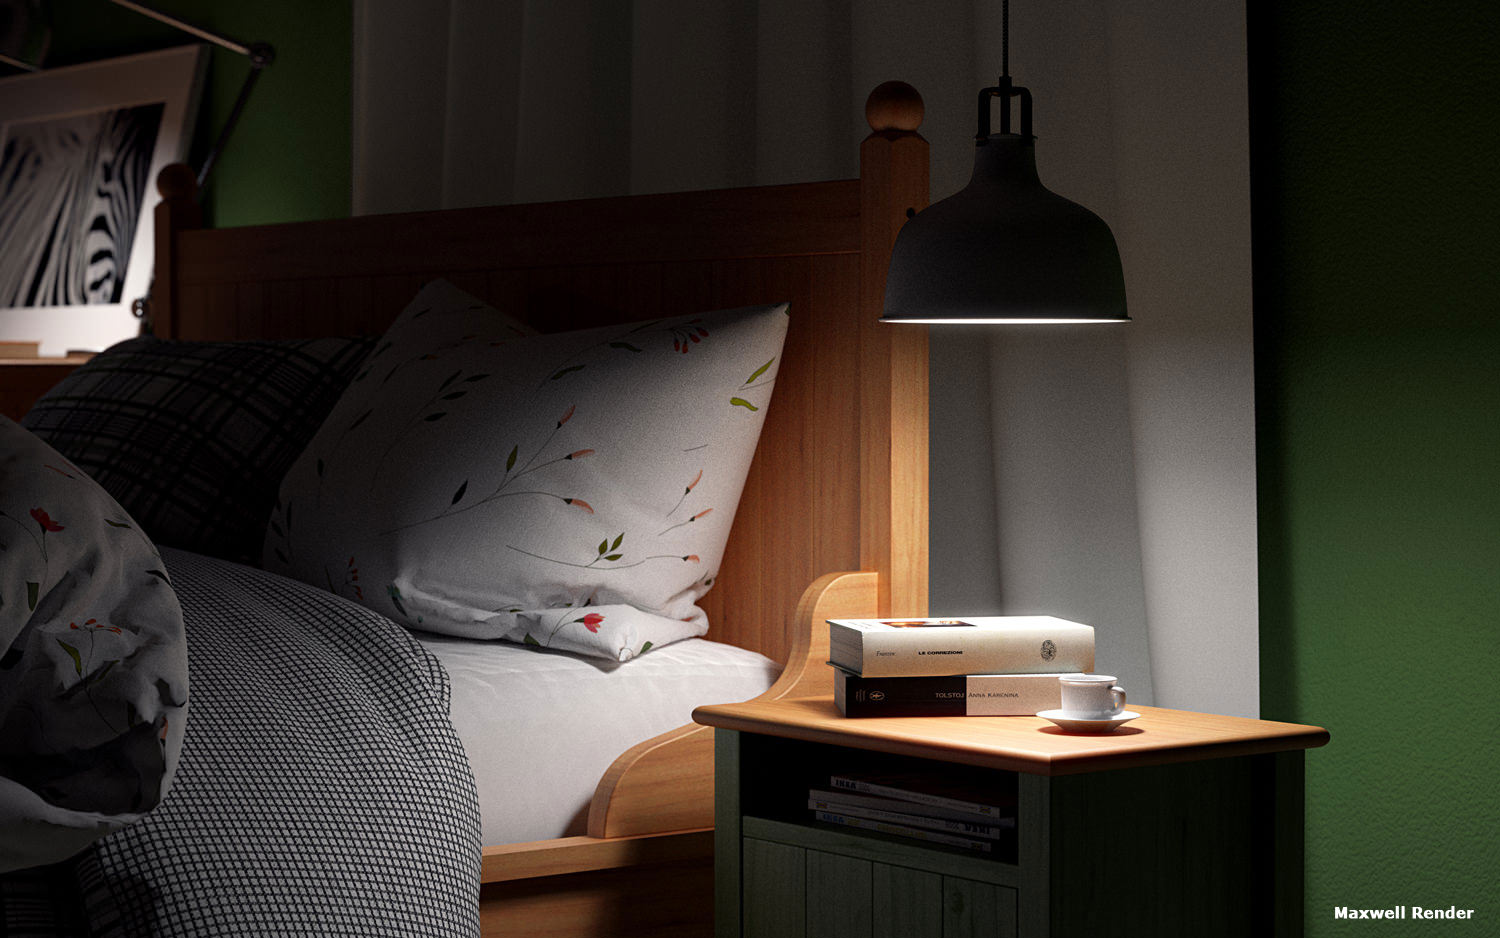
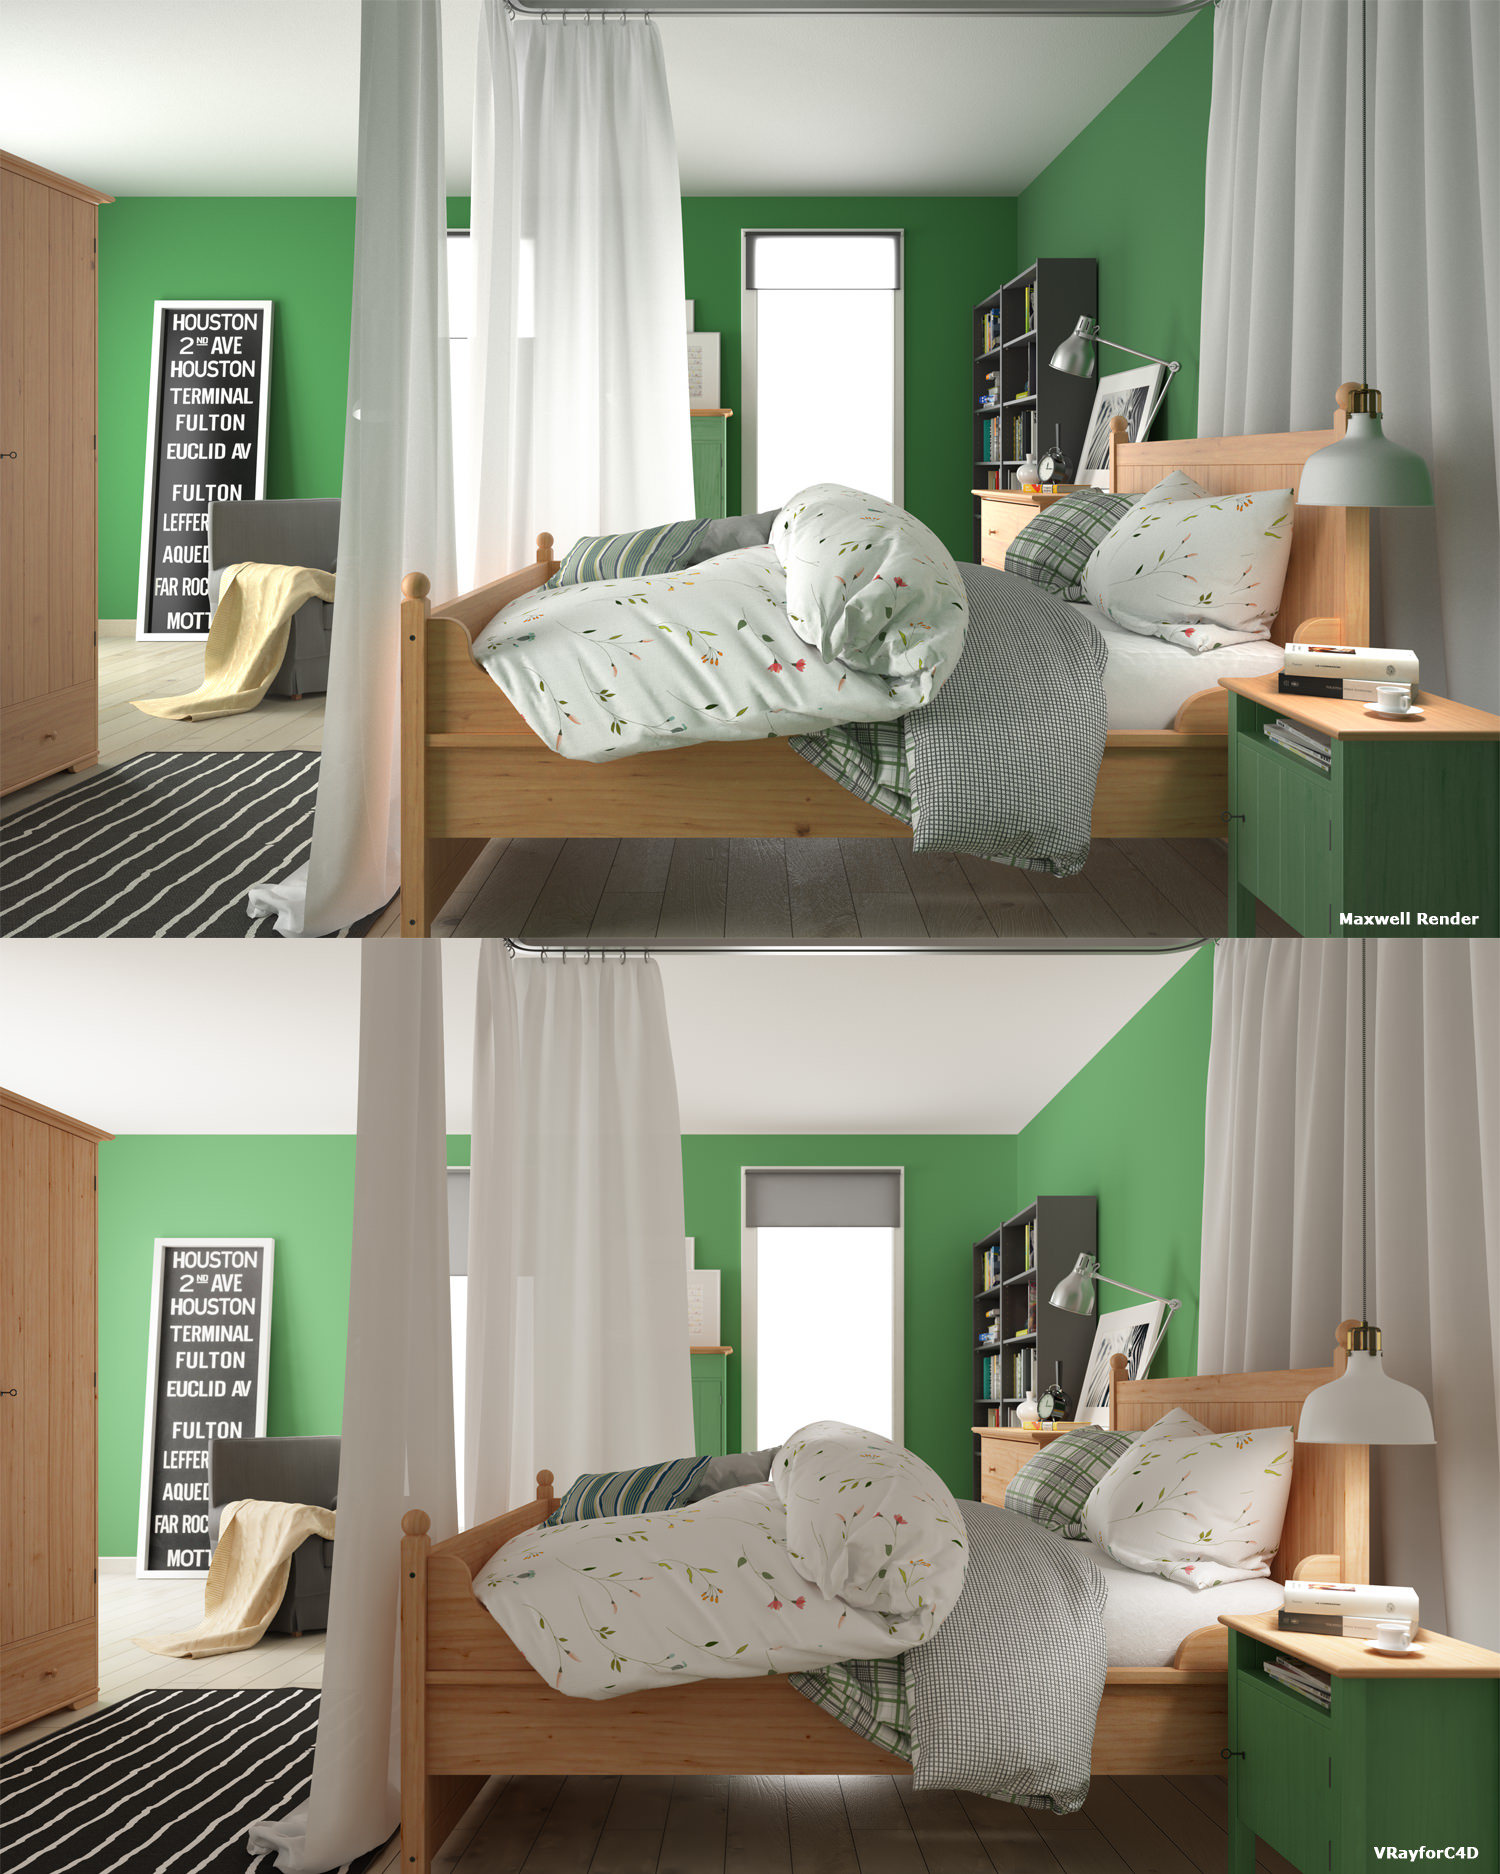
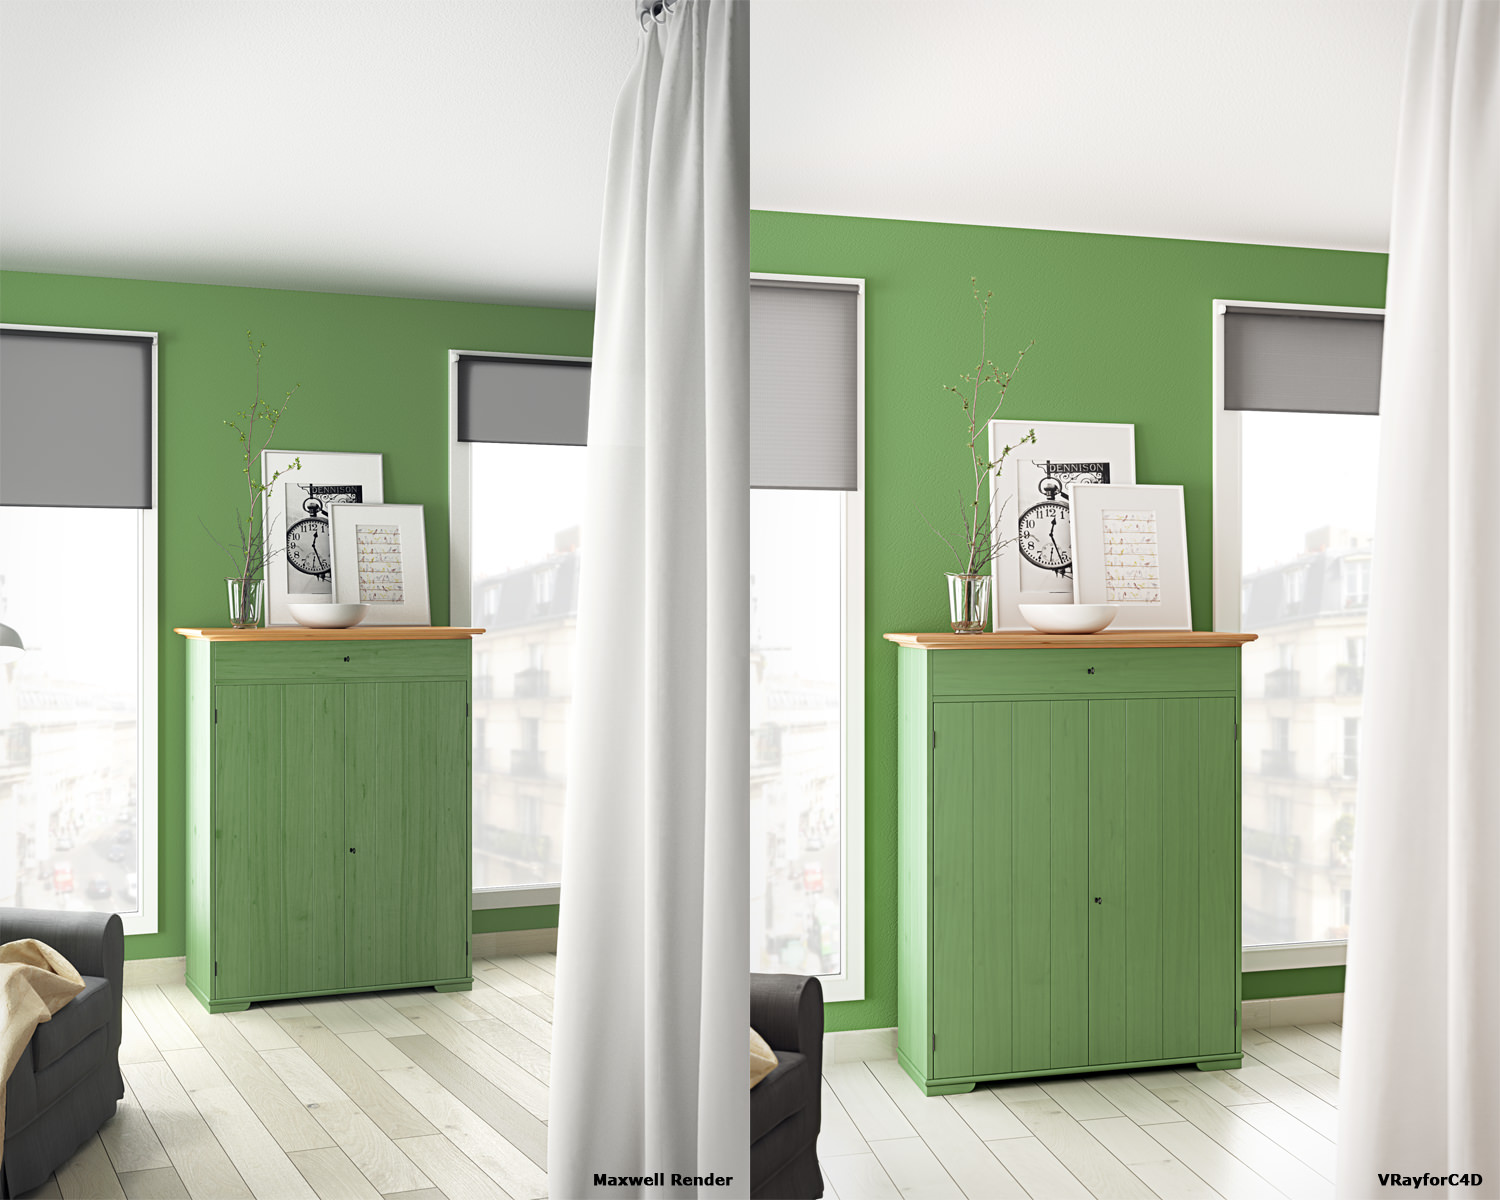
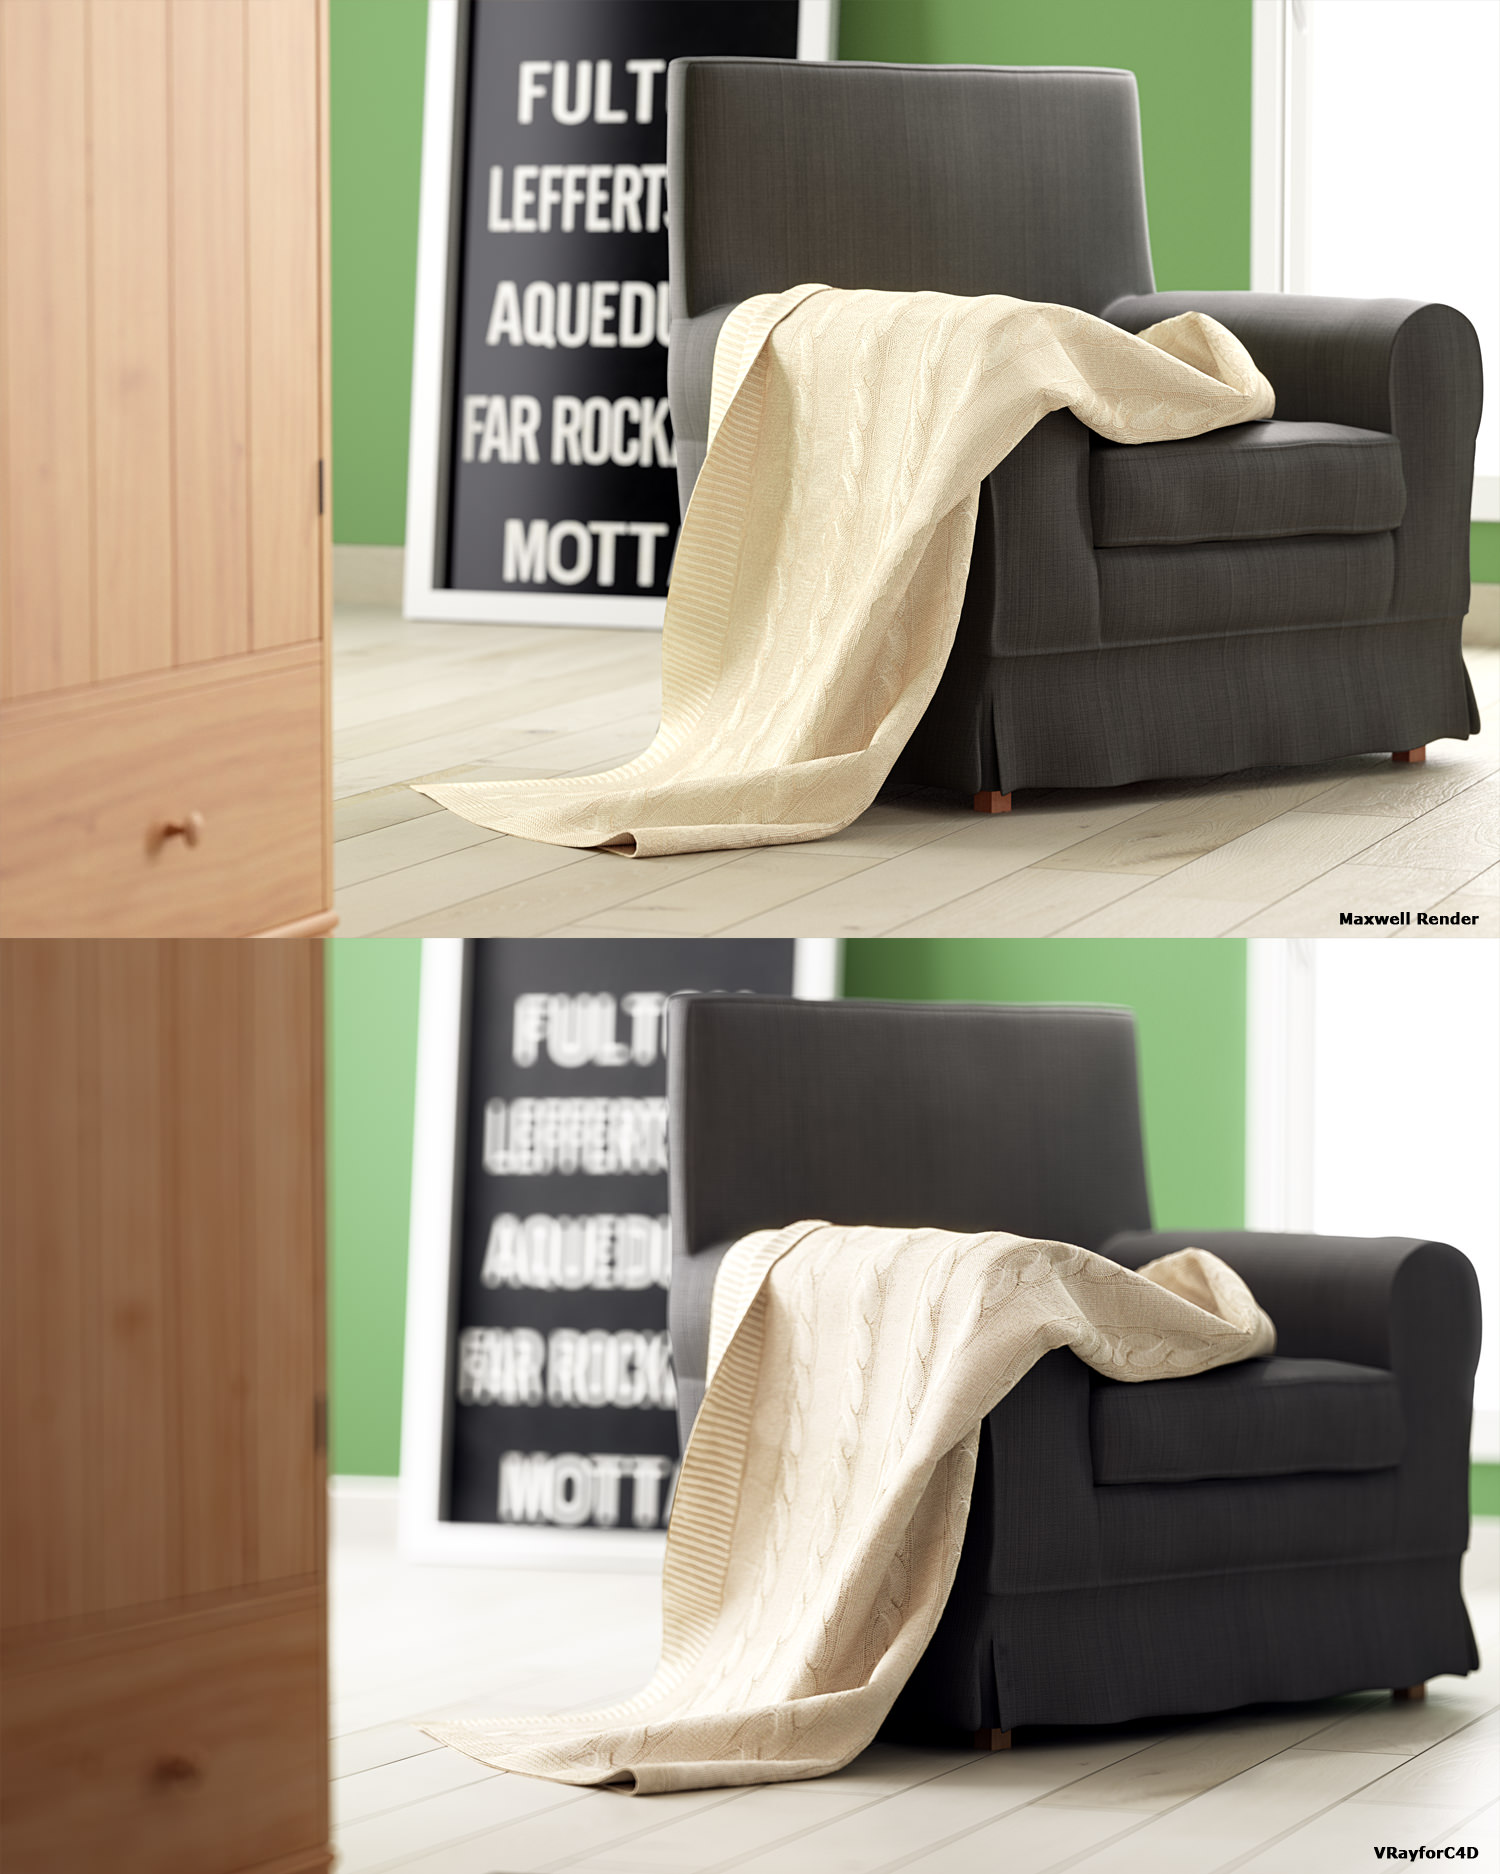
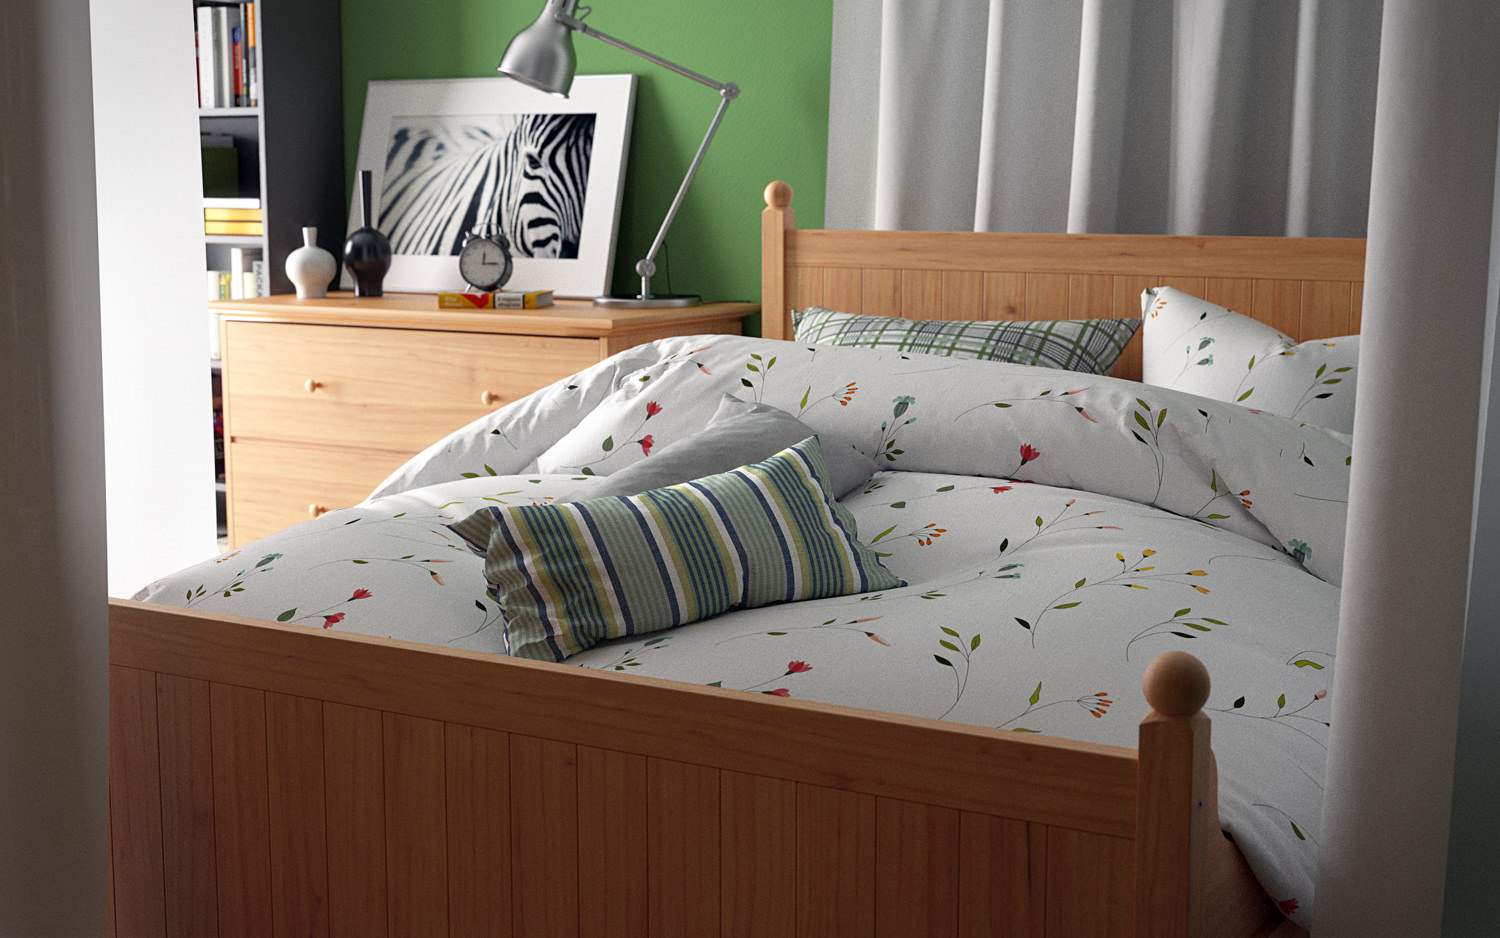
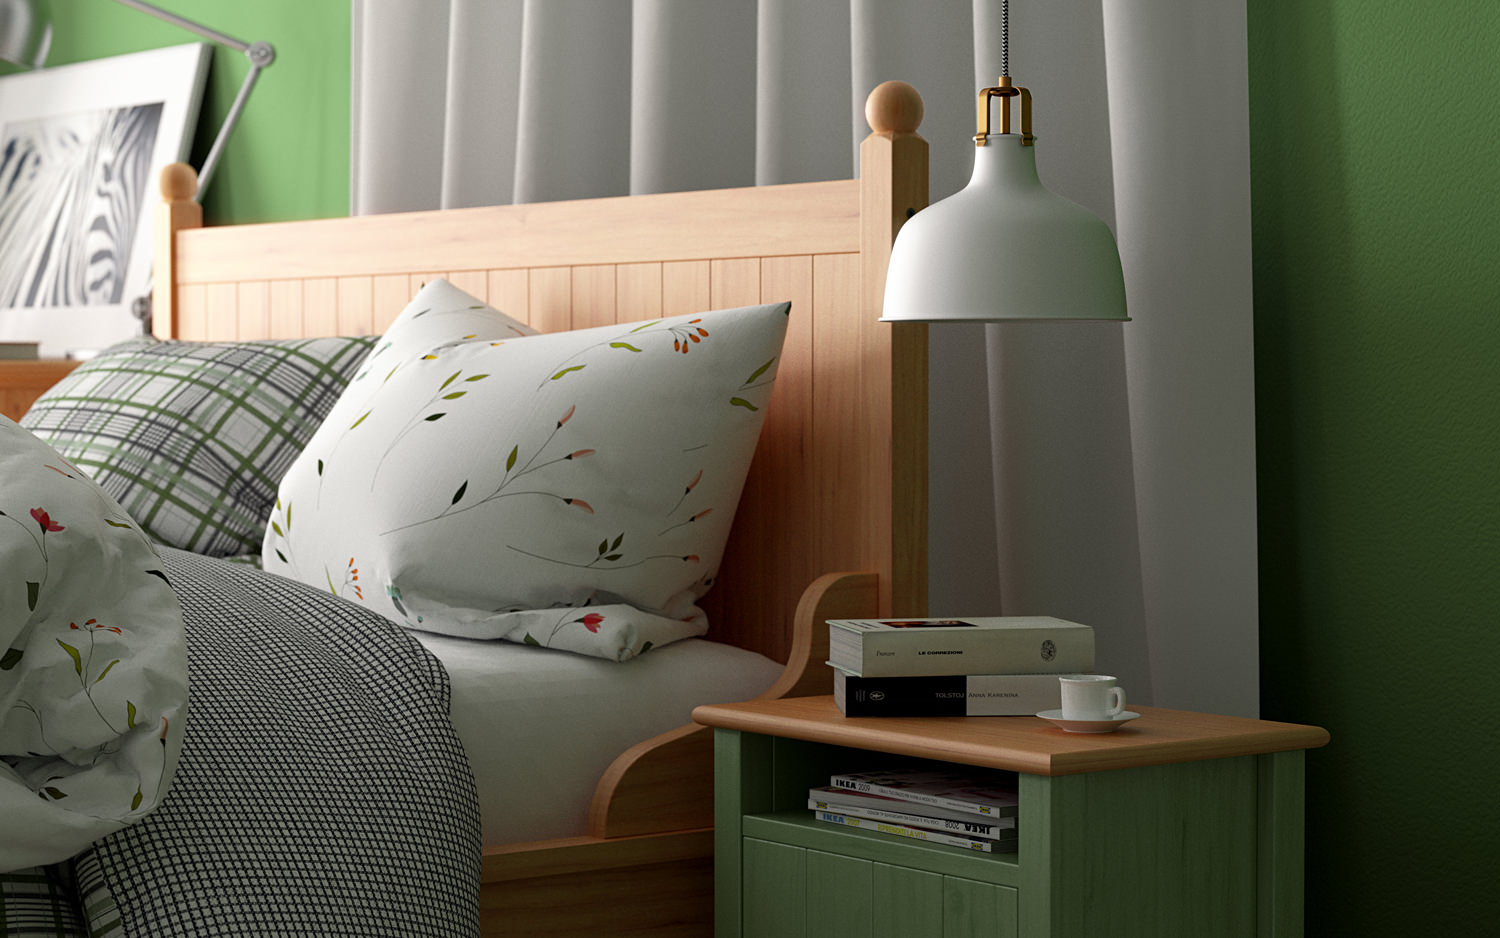
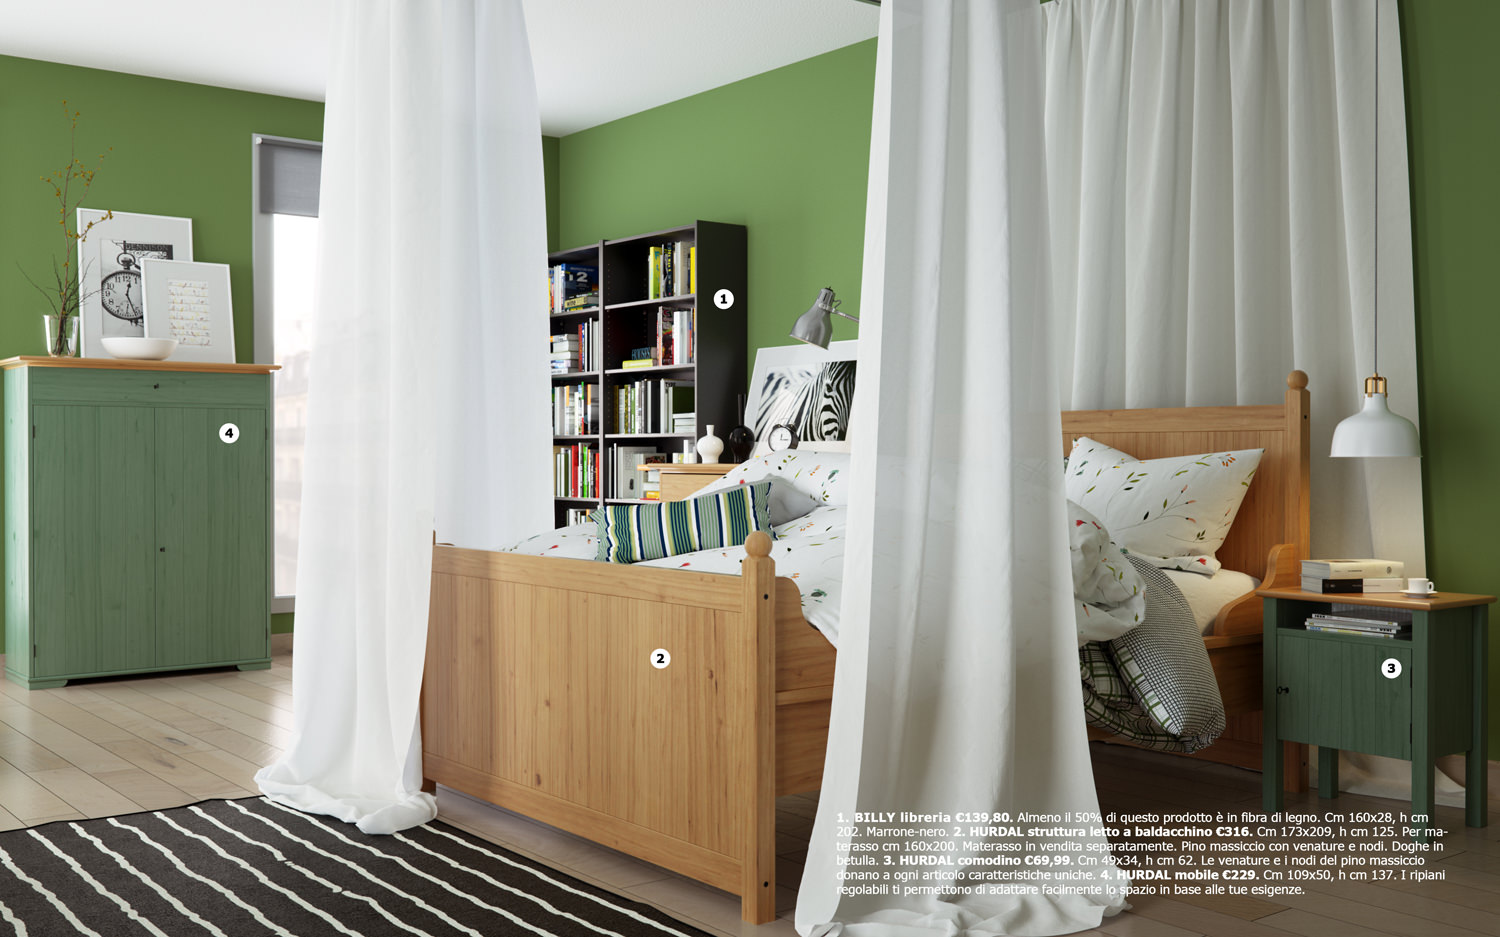
Hi everyone, finally I had the possibility to make these scenes with Octane Render and I wanted to share with you my impressions. The images have been made with the 3.07 version and 4 gtx 1080ti with 2 different PCs using Netwotk Rendering. You can find the tutorial about Vrayforc4d and Maxwell Render below. Octane Render is powerful and dependable, it’s impossible that it crashes. Being an unbiased engine, renders are very clean and it’s really fast!
[br]
Ciao a tutti, finalmente ho avuto la possibilità di provare a renderizzare questa scena anche con Octane render e volevo condividere con voi le mie impressioni. Le immagini sono state calcolate con la versione 3.07 e 4 schede gtx 1080ti su due differenti macchine utilizzando il Network Rendering. Il tutorial su VRayforc4d e Maxwell render lo trovate sotto per i vari confronti!
Octane render è stabilissimo, è praticamente impossibile farlo crashare. La pulizia delle immagini è ottima essendo unbiased e la velocità è incredibile.
[br]

[br]
[br]
[br]

[br]

[br]
[br]
[br]
Obviously I’m impressed about Live Viewer for setting materials and lights. It’s possible to set roughness levels and textures with a precise control, checking all of the material and lights in real time; in this way it’s extremely easy to add dirt and defects to improve realism of the surfaces. About the lighting I used the same method used for Vray and Maxwell Render with windows area lights; the result is very natural and shadows are always defined. It save much time with the scene setup even respect to Maxwell Render (Live Viewer is faster than Maxwell Render Fire because the new version of Fire use only one GPU graphic card differently from Octane Render that use all video cards available). A big advantage is the possibility to change DOF, Color Mapping and Response without restarting the render. Even the postproduction effects as glows and flares are available for updating while the render is calculating. The knots materials are very easy to use and they allow to resolve complex situations; the UV transform tool is useful to set noises and effects with a different scale and projection for each texture. With this method we can have for instance a texture for the diffuse channel with a scale value and a projection mode, and another texture for the bump with another scale value and another projection mode into the same material.
[br]
Ovviamente sono rimasto impressionato dalla facilità con cui si riescono ad impostare materiali e illuminazione in real time con il live viewer. Si possono impostare i livelli di roughness e le varie maschere con un controllo preciso e in questo modo è più semplice aggiungere taglietti e imprecisioni sulle superfici per renderle più realistiche. Per quanti riguarda l’illuminazione ho utilizzato lo stesso metodo usato per Vray e Maxwell con le luci alle finestre e il look è veramente naturale, le ombre sono sempre ben definite. Si risparmia un sacco di tempo nel setup della scena anche rispetto a Maxwell Render (il live viewer è nettamente più veloce del Fire di Maxwell e anche la nuova versione di Maxwell utilizza una sola scheda GPU a differenza di Octane che le utilizza tutte). Un grande vantaggio è la possibilità di cambiare la profondità di campo, Color Mapping e Response senza rilanciare il calcolo. Anche gli effetti di postproduzione come i bagliori si possono modificare a proprio piacimento mentre il calcolo prosegue. I materiali a nodi sono comodissimi e permettono di risolvere situazioni complesse; l’UV transform è utilissimo per impostare disturbi ed effetti con una scala e una proiezione differenti per ogni texture. Questo ci permette di avere ad esempio una texture per il diffuse con una scala e una proiezione, e una texture per il bump con un’altra scala e un’altra proiezione all’interno dello stesso materiale.
[br]
[br]
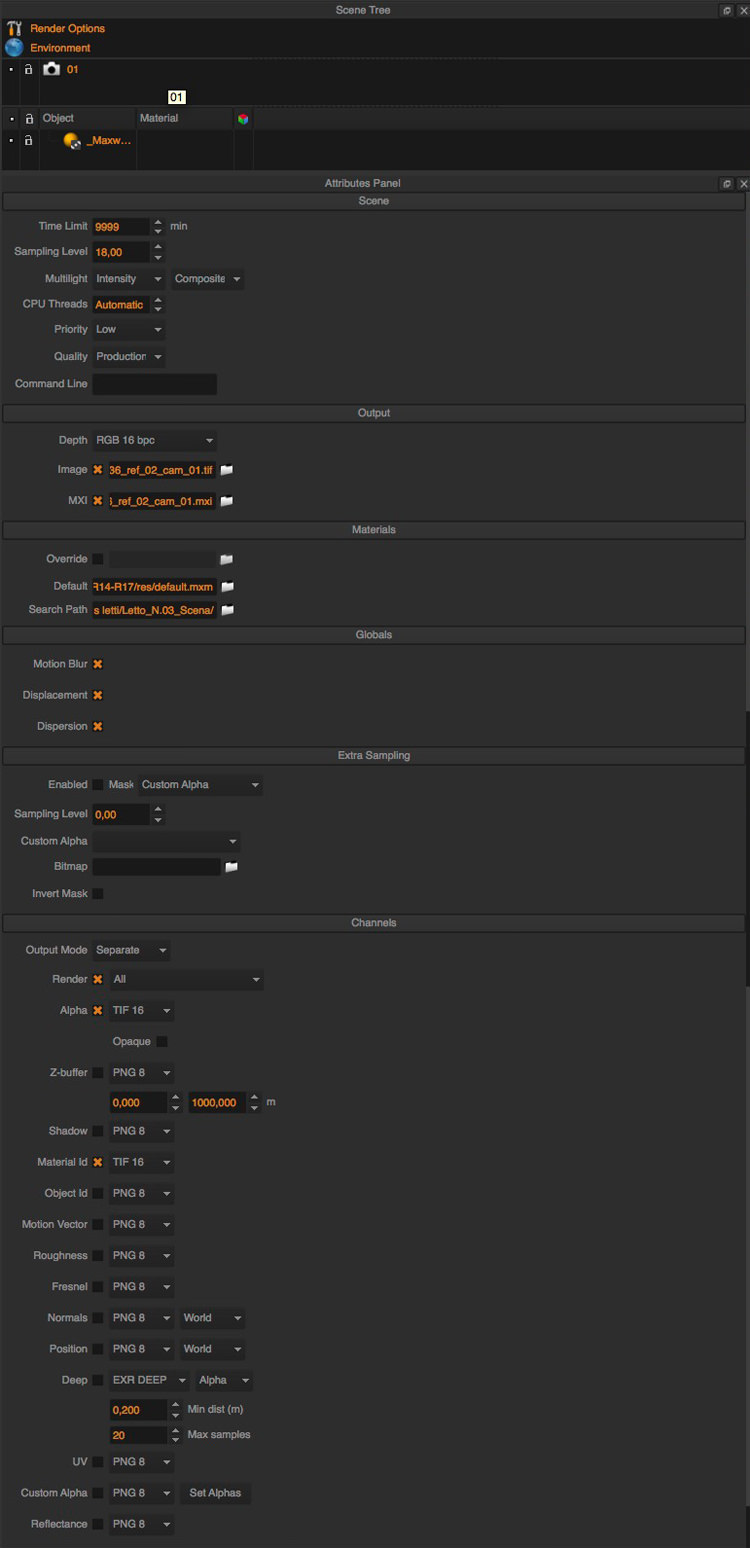
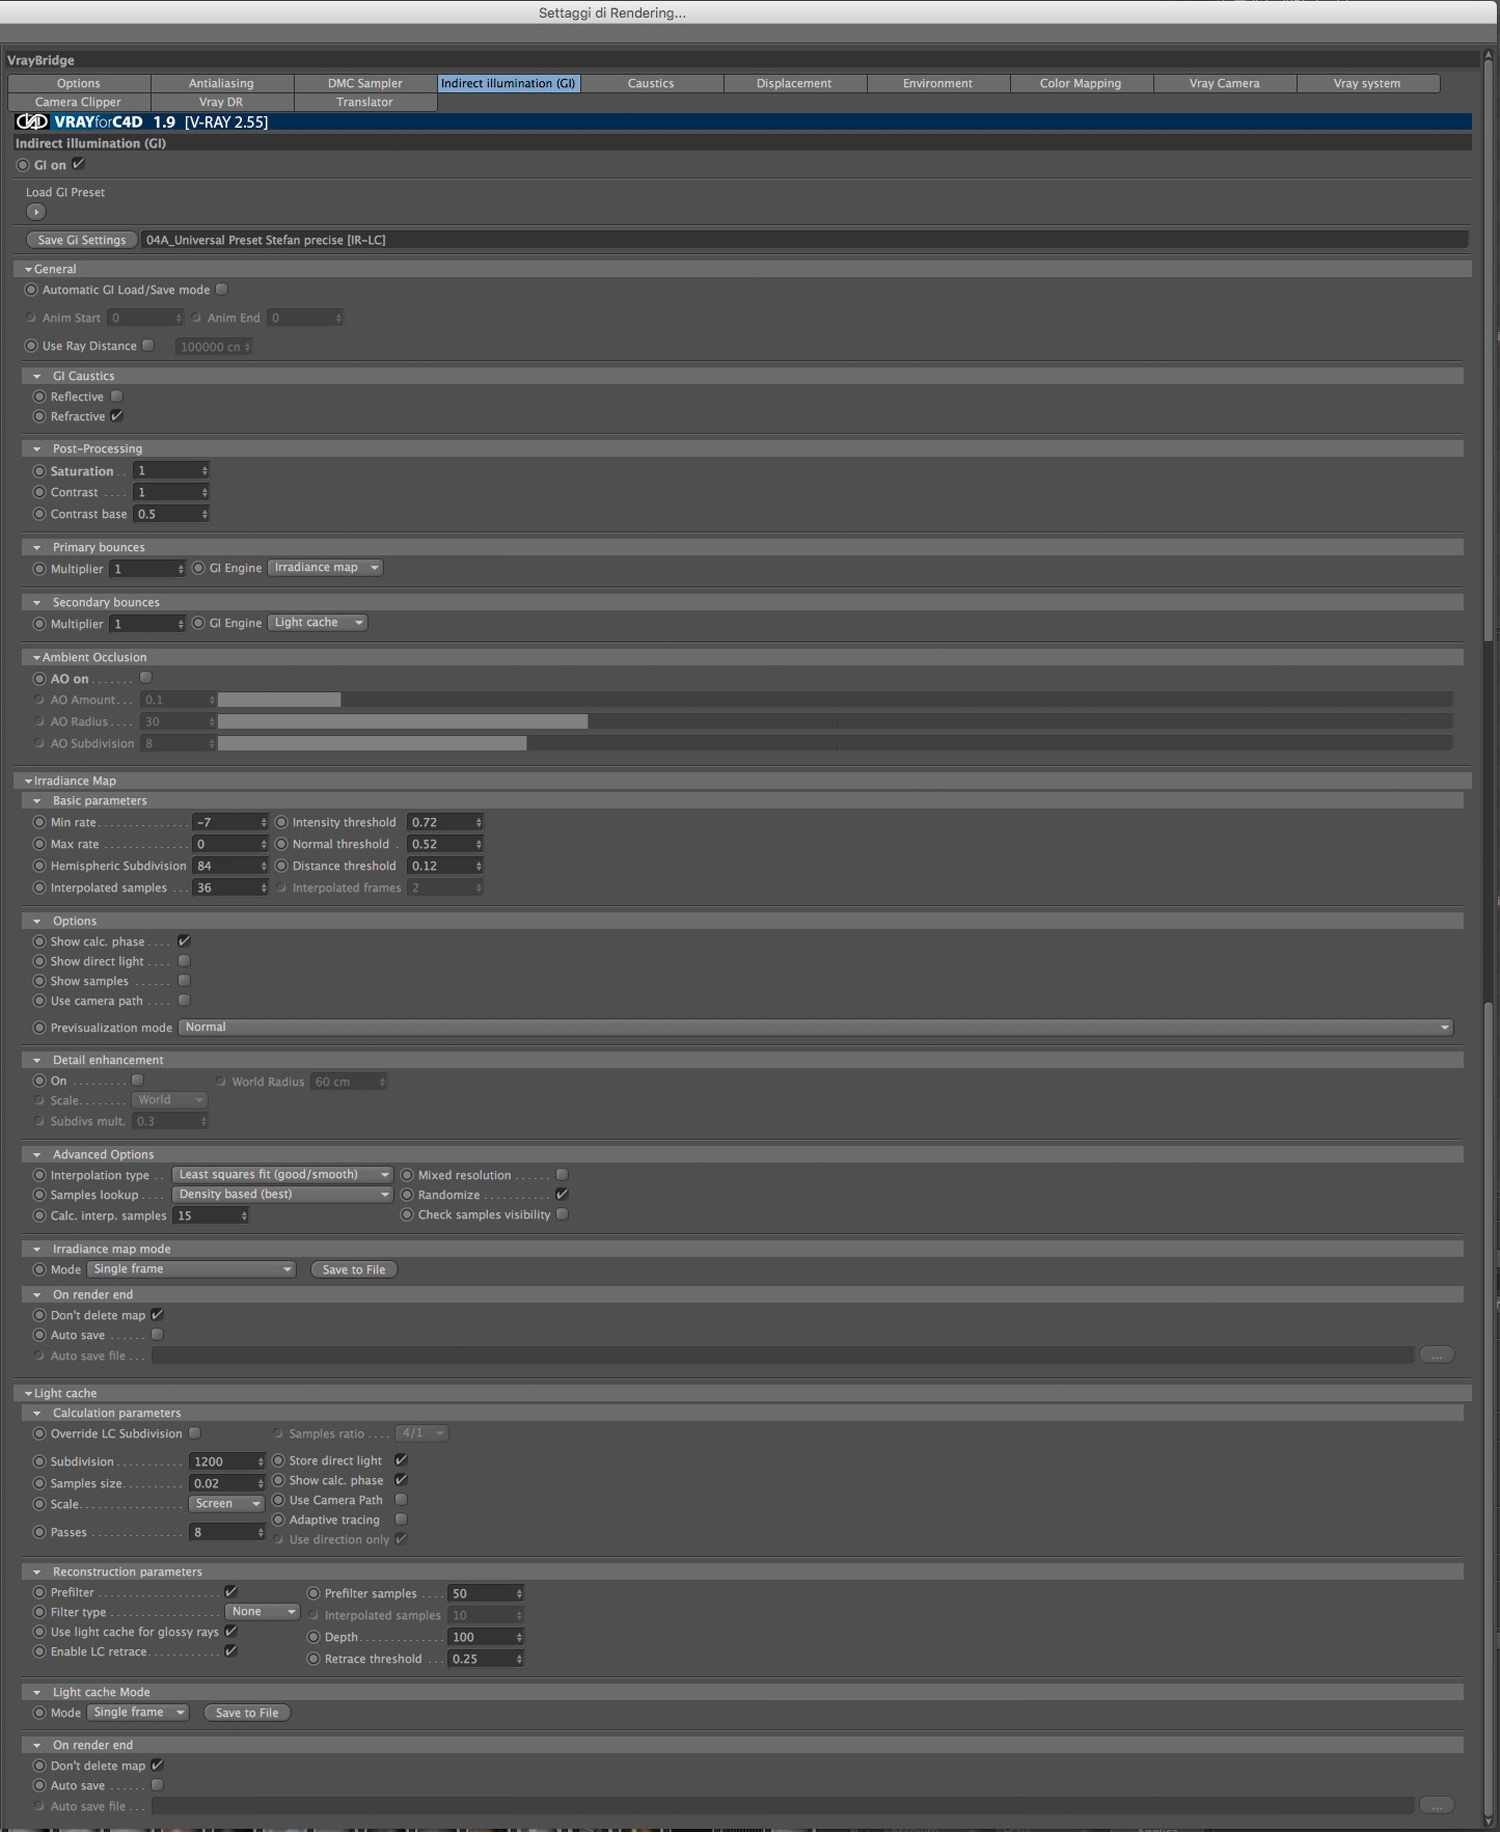
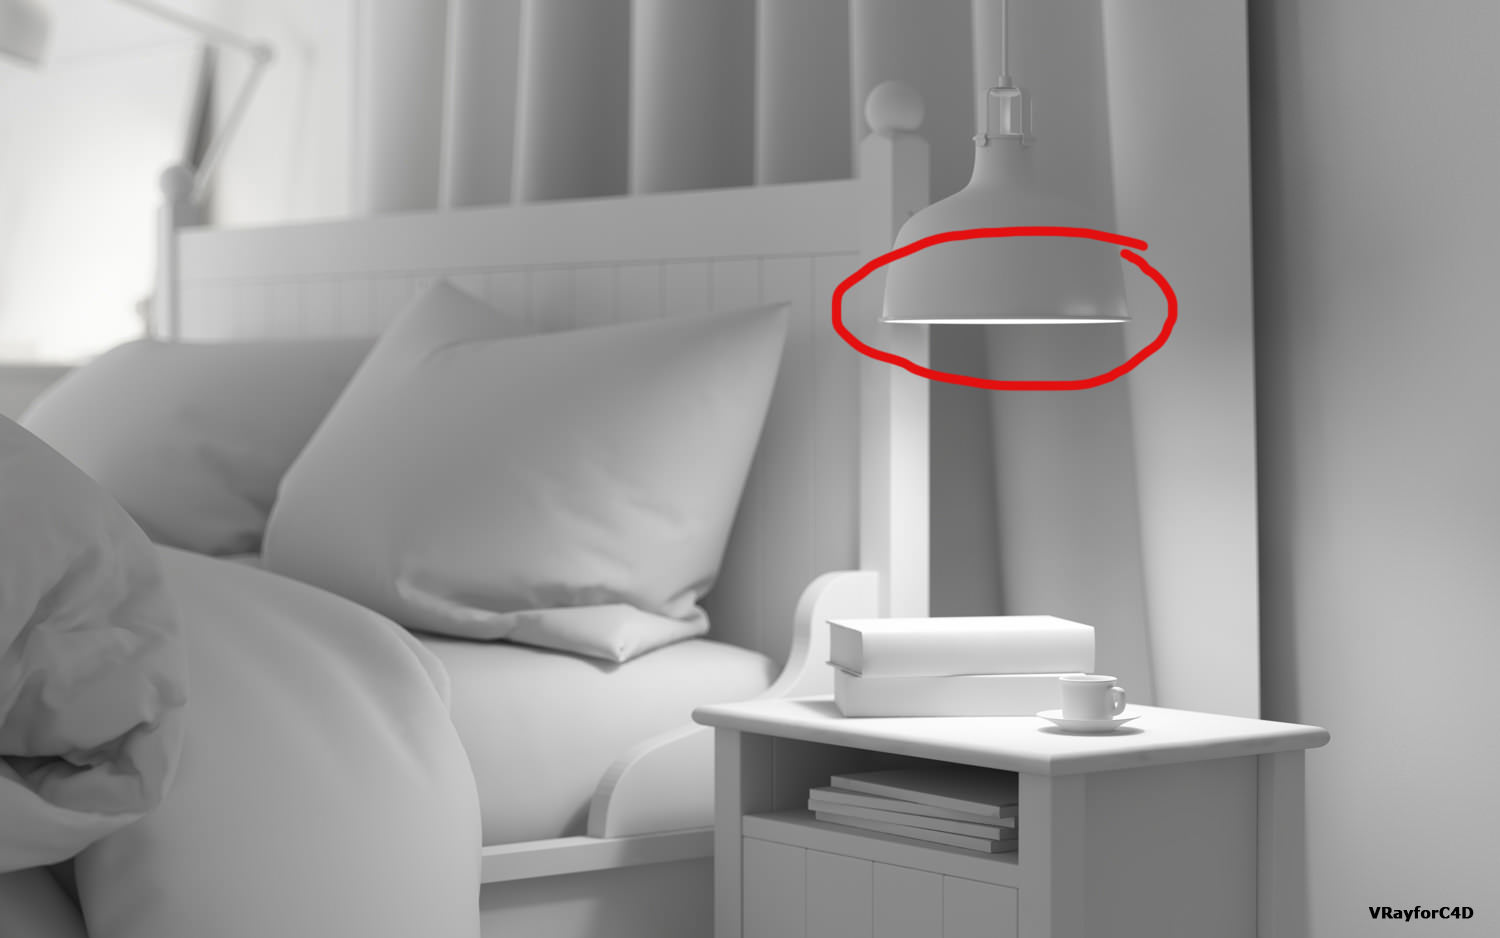
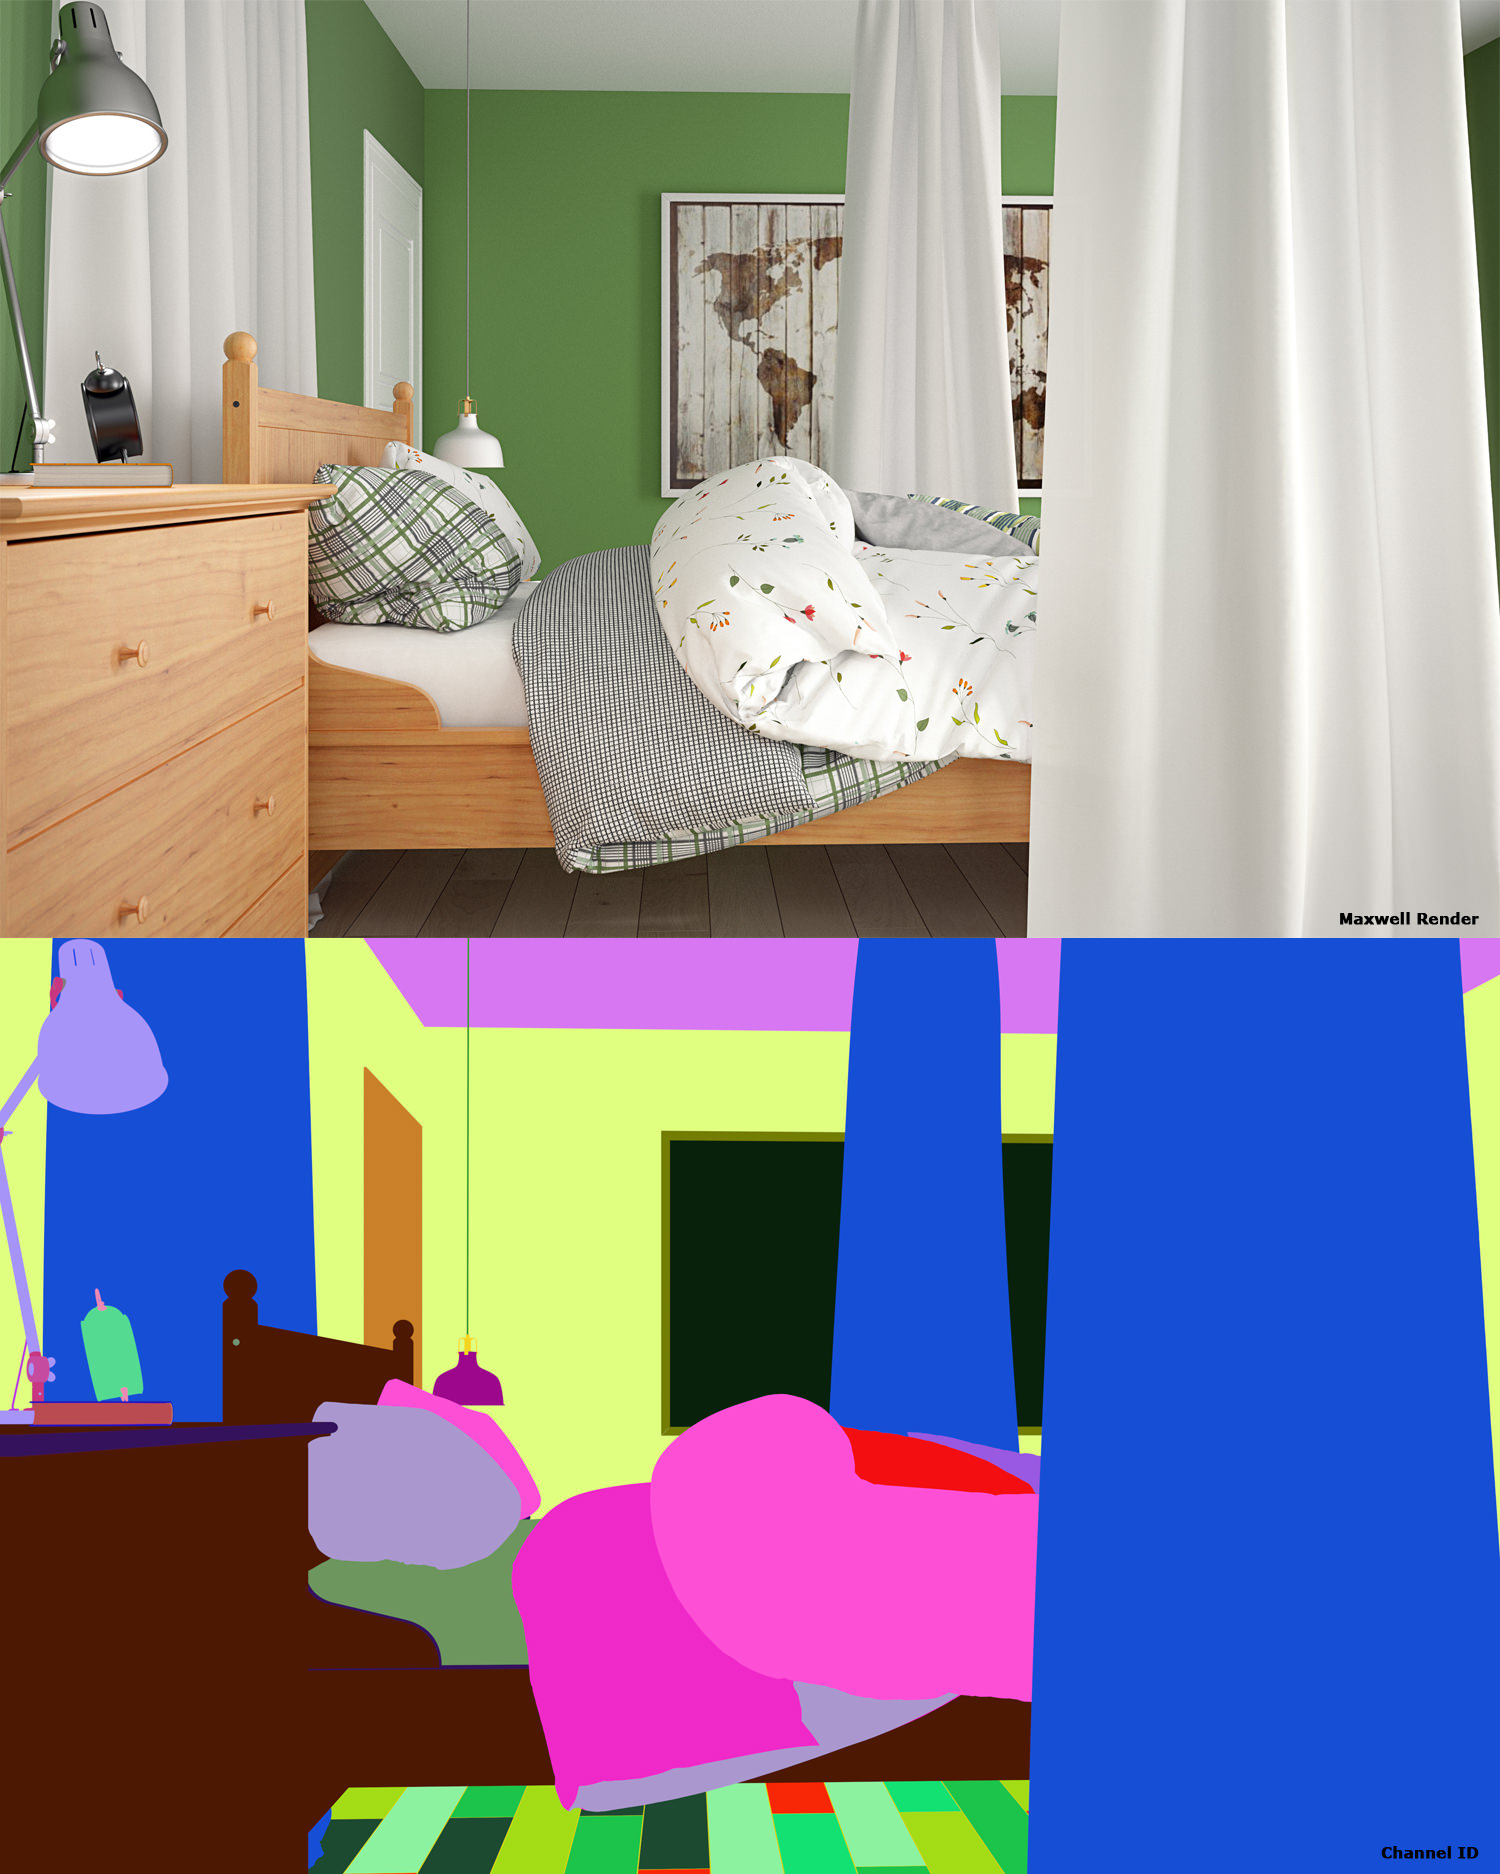
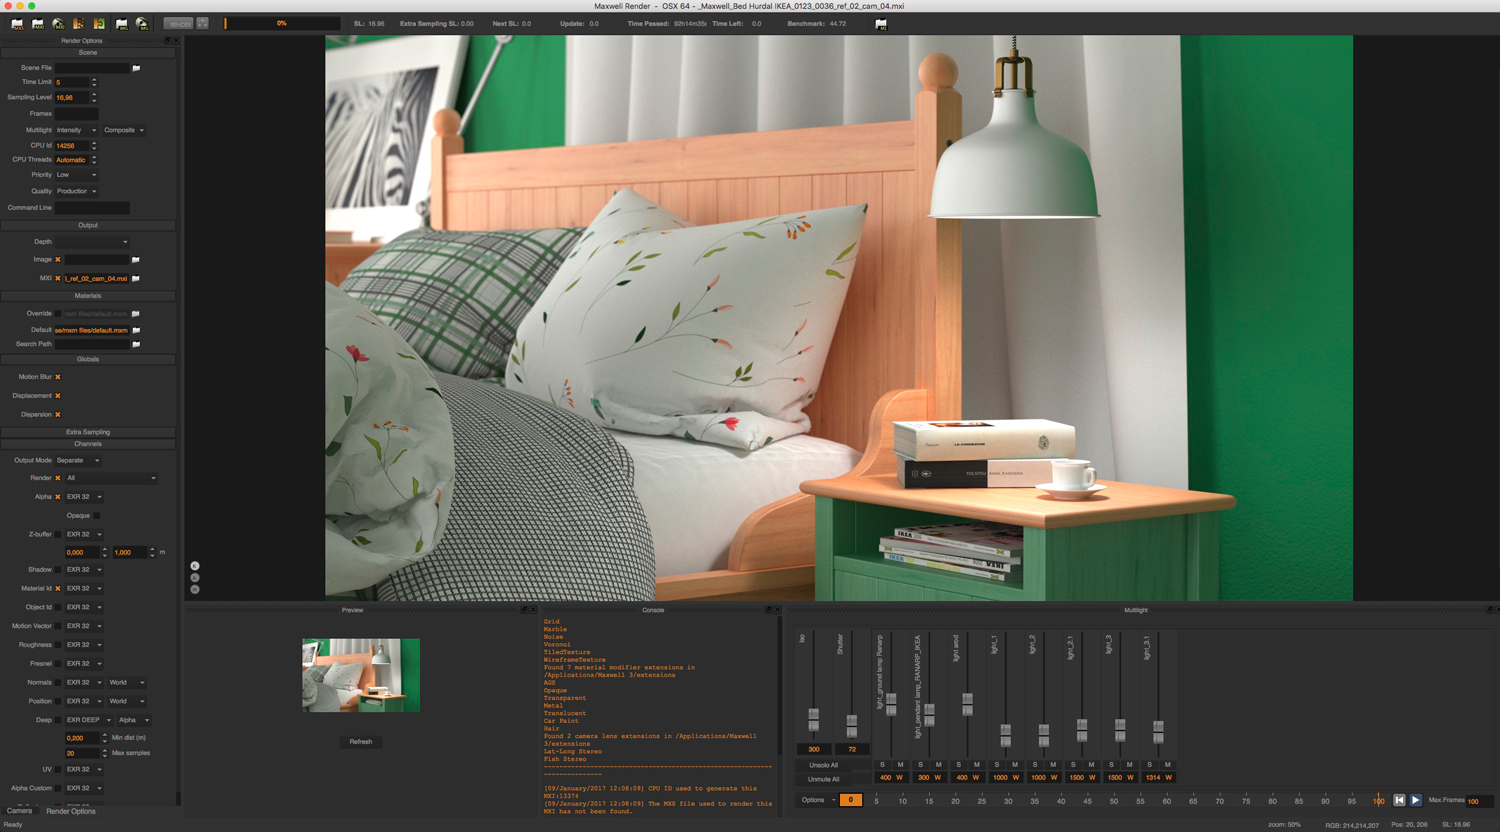
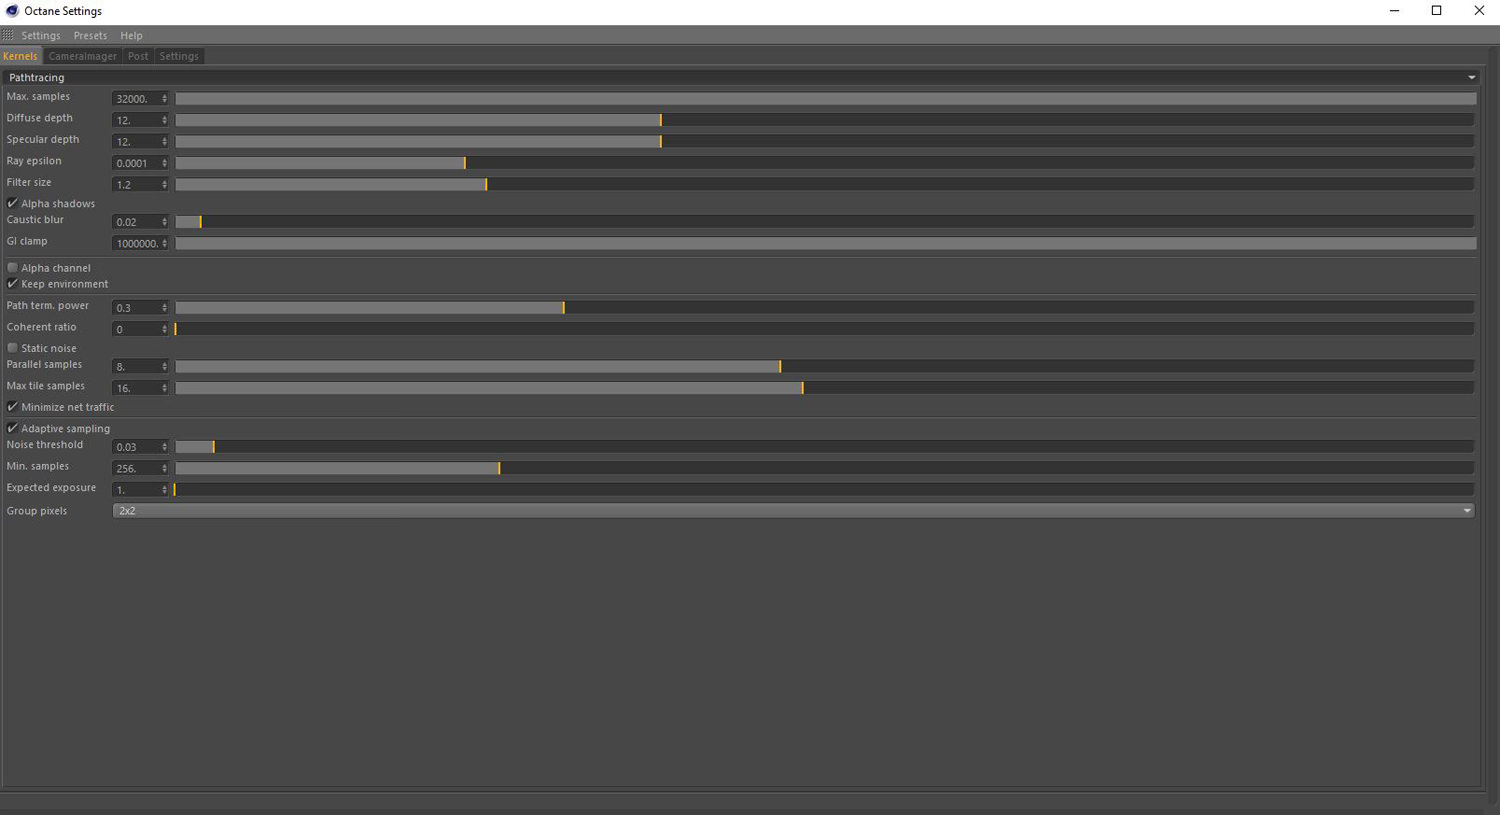
Handling the render parameters is very simple, activating the multipass it’s easy; it’s enough to select channels we need to have them renderized. Personally I often use the material ID channel in postproduction for selecting quickly different materials and changing contrasts and colors. I noticed that the artificial lights of the lamps create a lot of noise in the render on the 90° reflections and this increase the render times that otherwise would have been better. Below the list of the render times frame per frame for the 3500 x 2187 px images calculated as I said above with 4 gtx 1080ti and 32000 samples in Pathtracing mode, value 12 for diffuse and specular depth, Adaptive sampling setted to 0.3 (other parameters are standard):
[br]
La gestione dei parametri di render è veramente comoda, attivare il multipass è semplicissimo ed è sufficiente selezionare i canali che ci interessano per averli renderizzati. Personalmente uso molto il material ID in postproduzione per selezionare rapidamente i vari materiali e intervenire sui contrasti e sui colori. Ho notato che le luci artificiali delle lampadine creano parecchio disturbo sulle riflessioni a 90° e questo aumenta i tempi di render che altrimenti sarebbero stati ancora migliori. Di seguito l’elenco frame per frame dei tempi calcolati a 3500px x 2187 con 4 gtx1080ti a 32000 samples in Pathtracing, con 12 di profondità per il diffuse e lo specular e l’Adaptive Sampling a 0.3 (gli altri parametri standard):
[br]
Frame 1: 1h 26min
[br]
Frame 2: 1h 13min
[br]
Frame 3: 39min
[br]
Frame 4: 45min
[br]
Frame 5: 2h 25min
[br]
Frame 6: 1h 25min
[br]
Frame 7: 2h 20min
[br]
Frame 8: 32min
[br]
Frame 9: 28min
[br]
Frame 10: 35min
[br]
Frame 11: 40min
[br]
Frame 12: 2h
[br]
Frame 13: 45min
[br]
Frame 14: 40min
[br]
Frame 15: 1h 30min
[br]
[br]
I created a simple HD animation to verify render times and flickering and the quality is impressive. Frames have been calculated from 9 min to 21 min according to lighting type. Definitely I’ve been using Octane Render since some months in different situations and I’m really satisfied. Even if it needed expensive hardware investment, it’s really stable and efficient. The right question that all 3d artist should do themselves is not “Why should I use Octane Render?”, but “Why not?”. I didn’t find any disadvantage and furthermore the support service is excellent. Development team is great and road map is exciting! I hope this article is helpful! Below the links to download scenes and models. See you soon!
[br]
Ho creato anche una piccola animazione per verificare tempi e flickering in HD e devo dire che la qualità è veramente ottima. I frames hanno calcolato dai 9 min ai 21 min in base al tipo di illuminazione. In definitiva, ho utilizzato in questi mesi Octane render in diverse situazioni e sono molto soddisfatto, nonostante questo comporti un investimento hardware importante, la stabilità e l’efficienza di questo motore di render lo rendono impareggiabile. La domanda da porsi non è “Perchè dovrei passare a Octane Render?” ma bensi è “Perchè non dovrei farlo?”. Sinceramente non ho trovato alcun tipo di svantaggio e inoltre il supporto è eccellente. Il team di sviluppo è instancabile e la road map è eccitante.
Spero che questo articolo vi torni utile! Di seguito il link per scaricare la scena e i modelli.
[br]
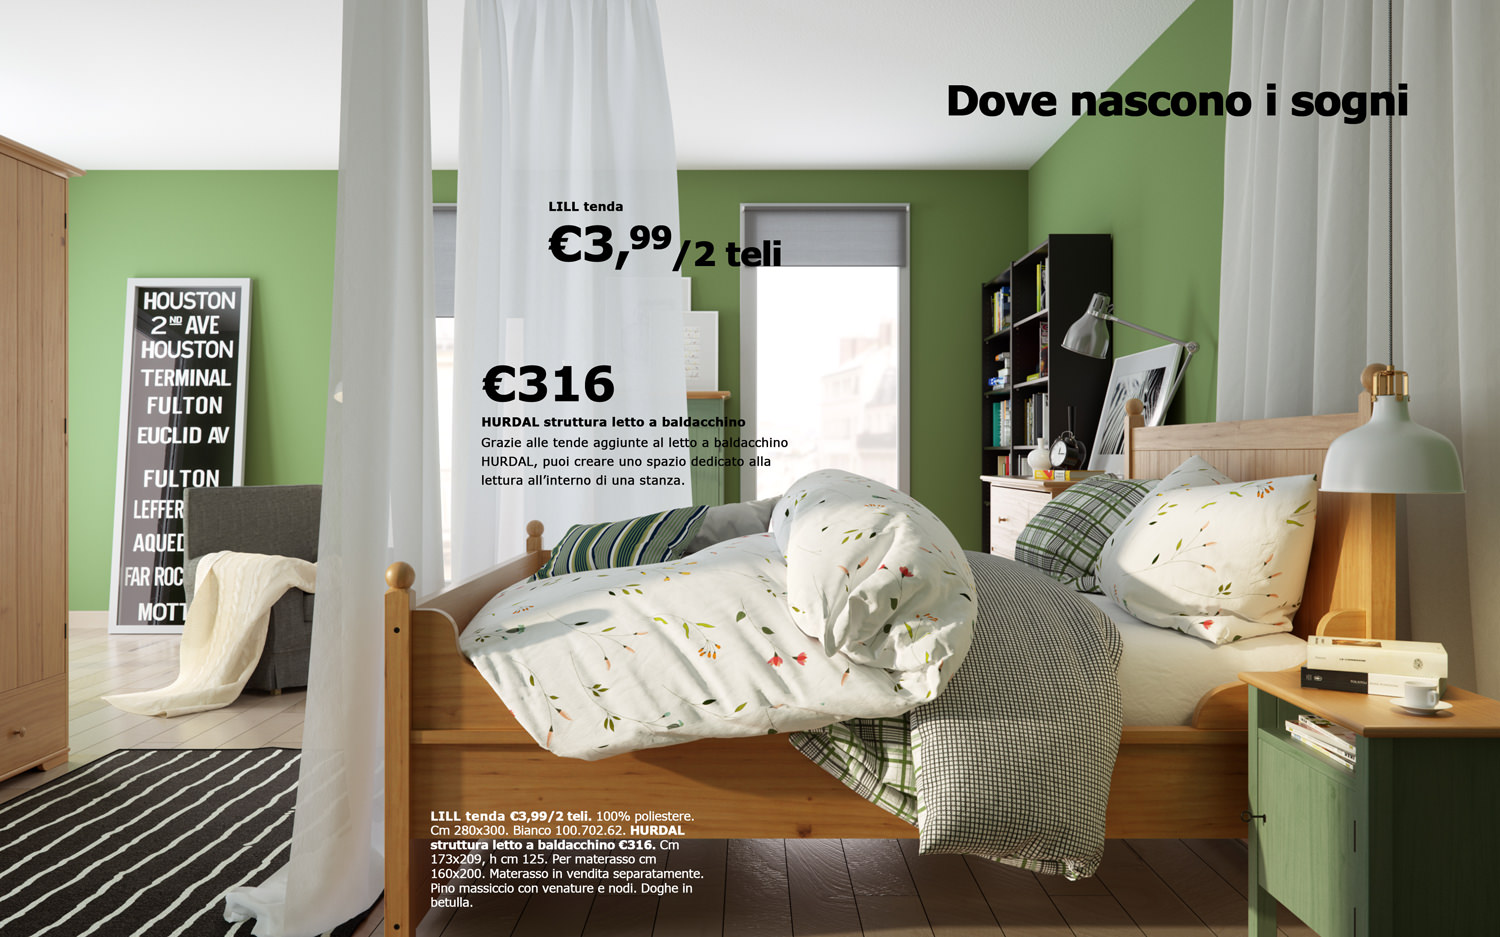
FREE DOWNLOAD Ikea Hurdal Bedside Table
[br]
Ikea Complete Scene with Lights and Materials
[br]
Shop Hurdal Bed
[br]
Shop Ikea Alarm Clock
[br]
Shop Ikea Arod Lamp
[br]
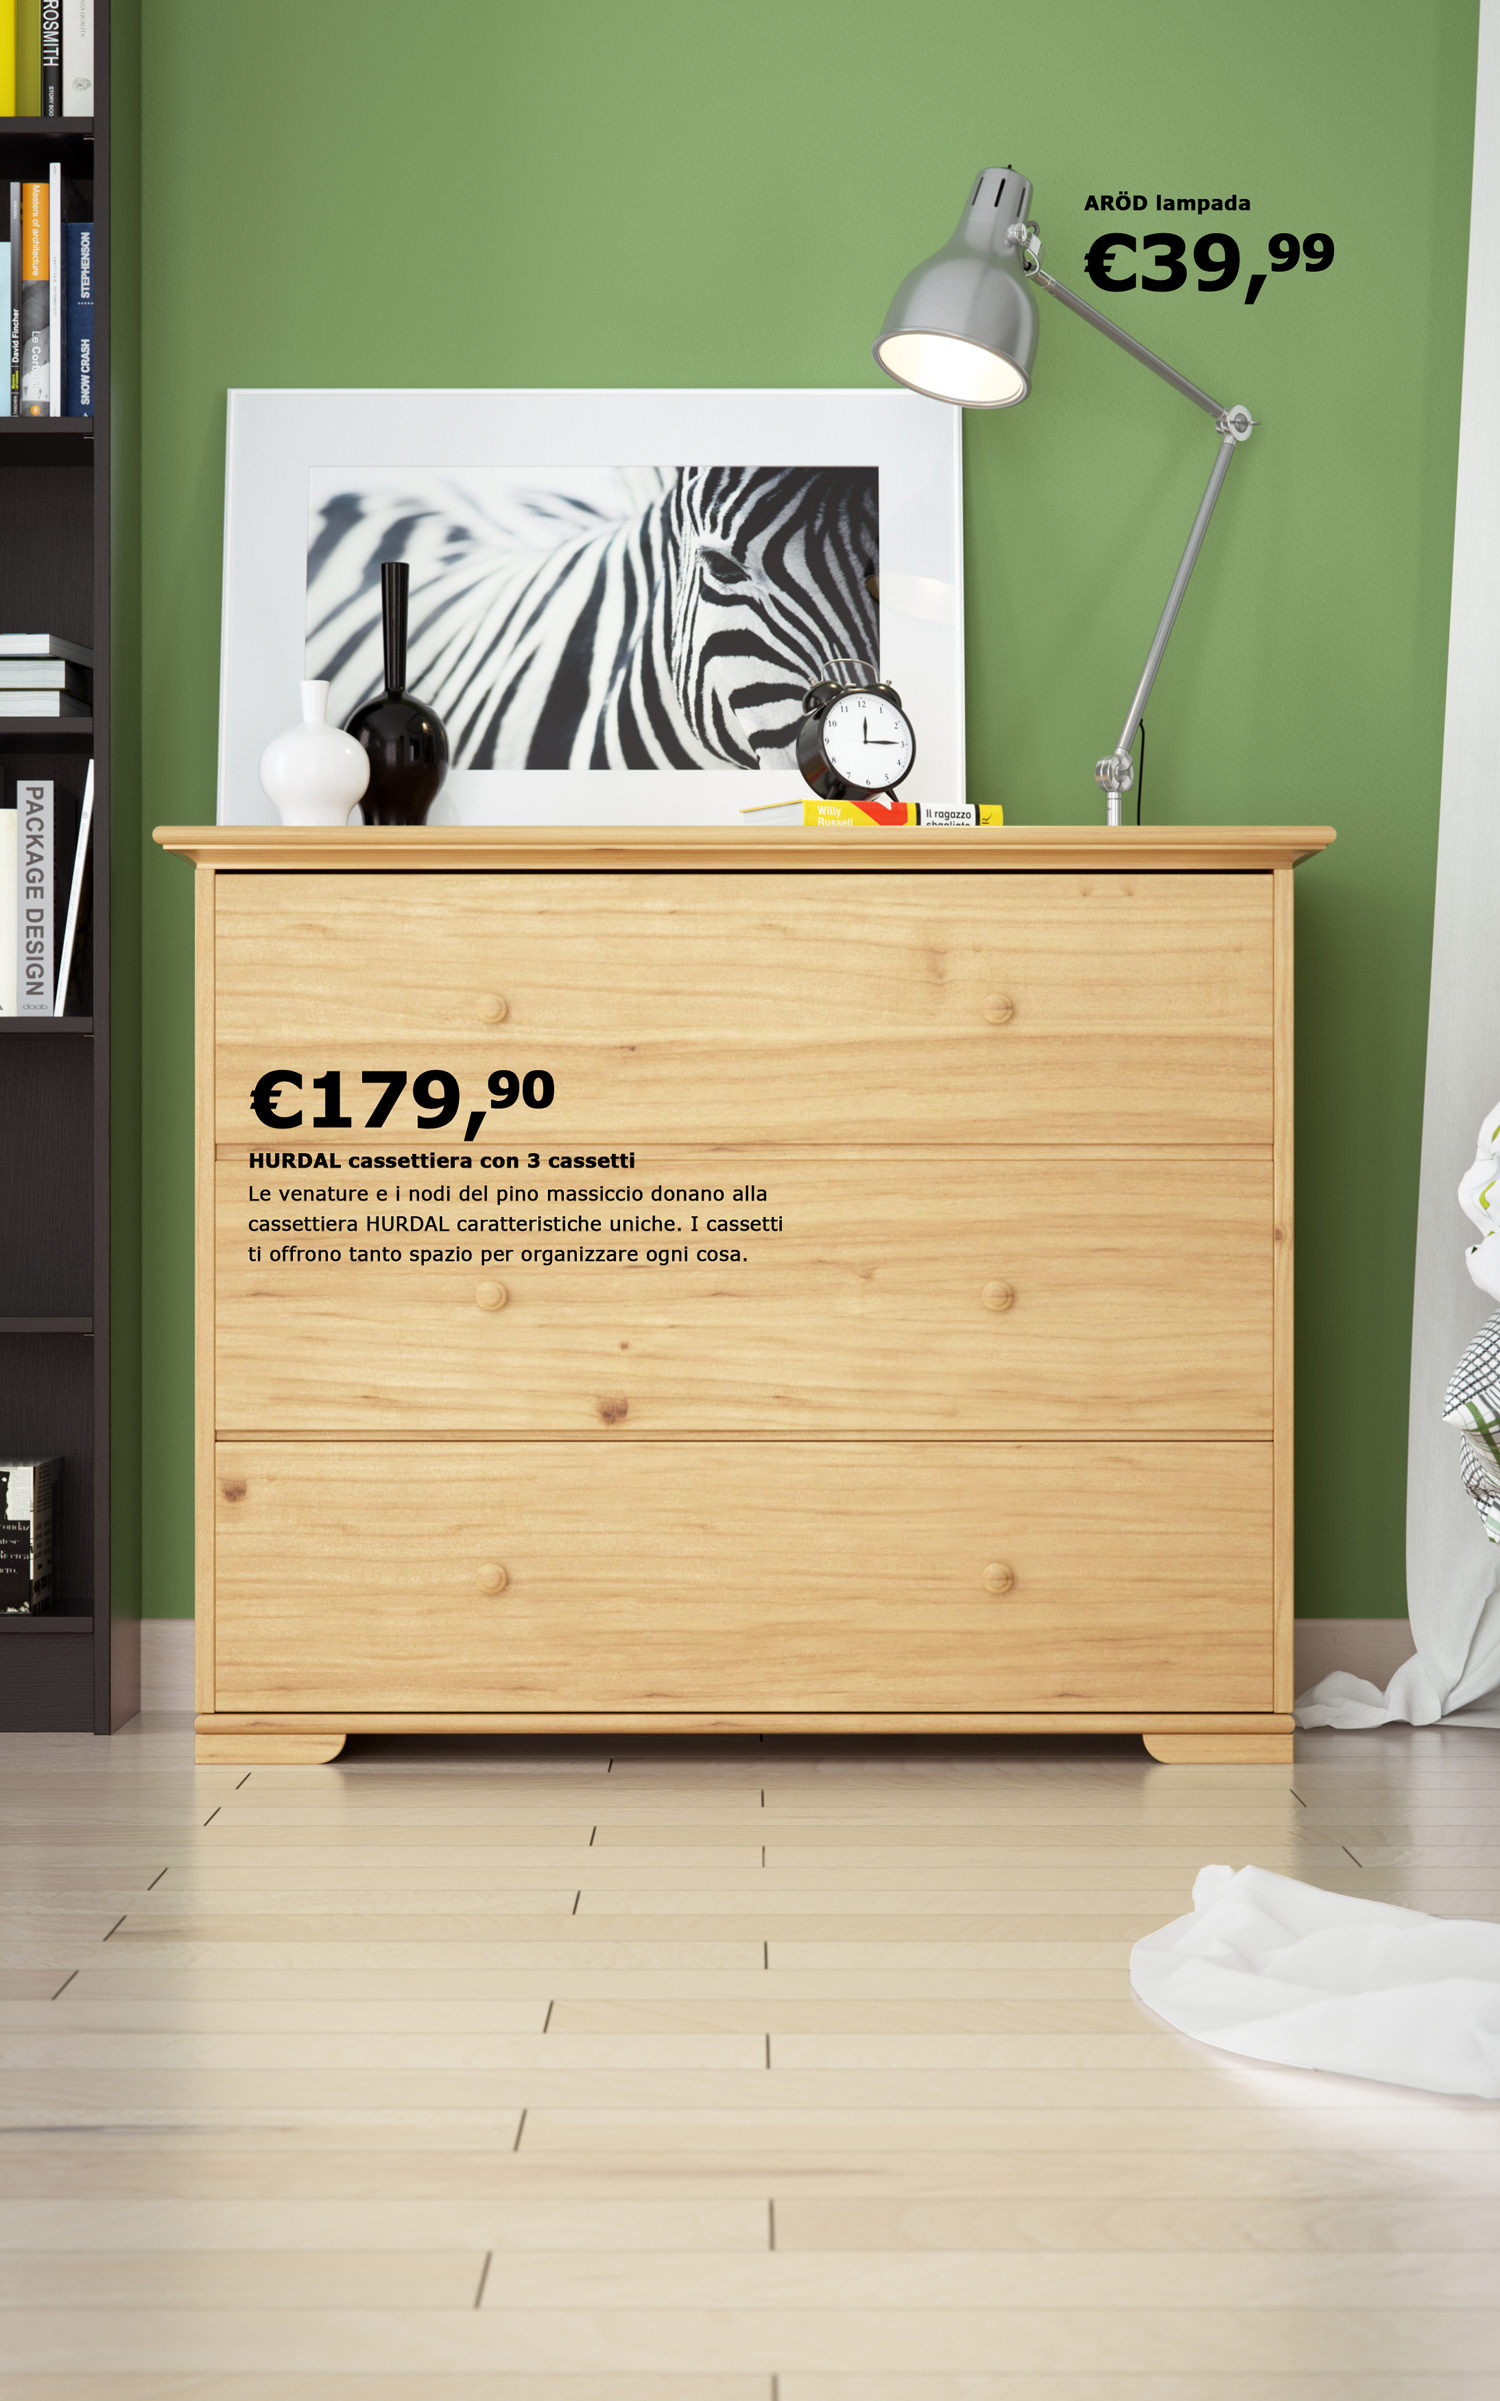
Shop Ikea Hurdal Drawers
[br]
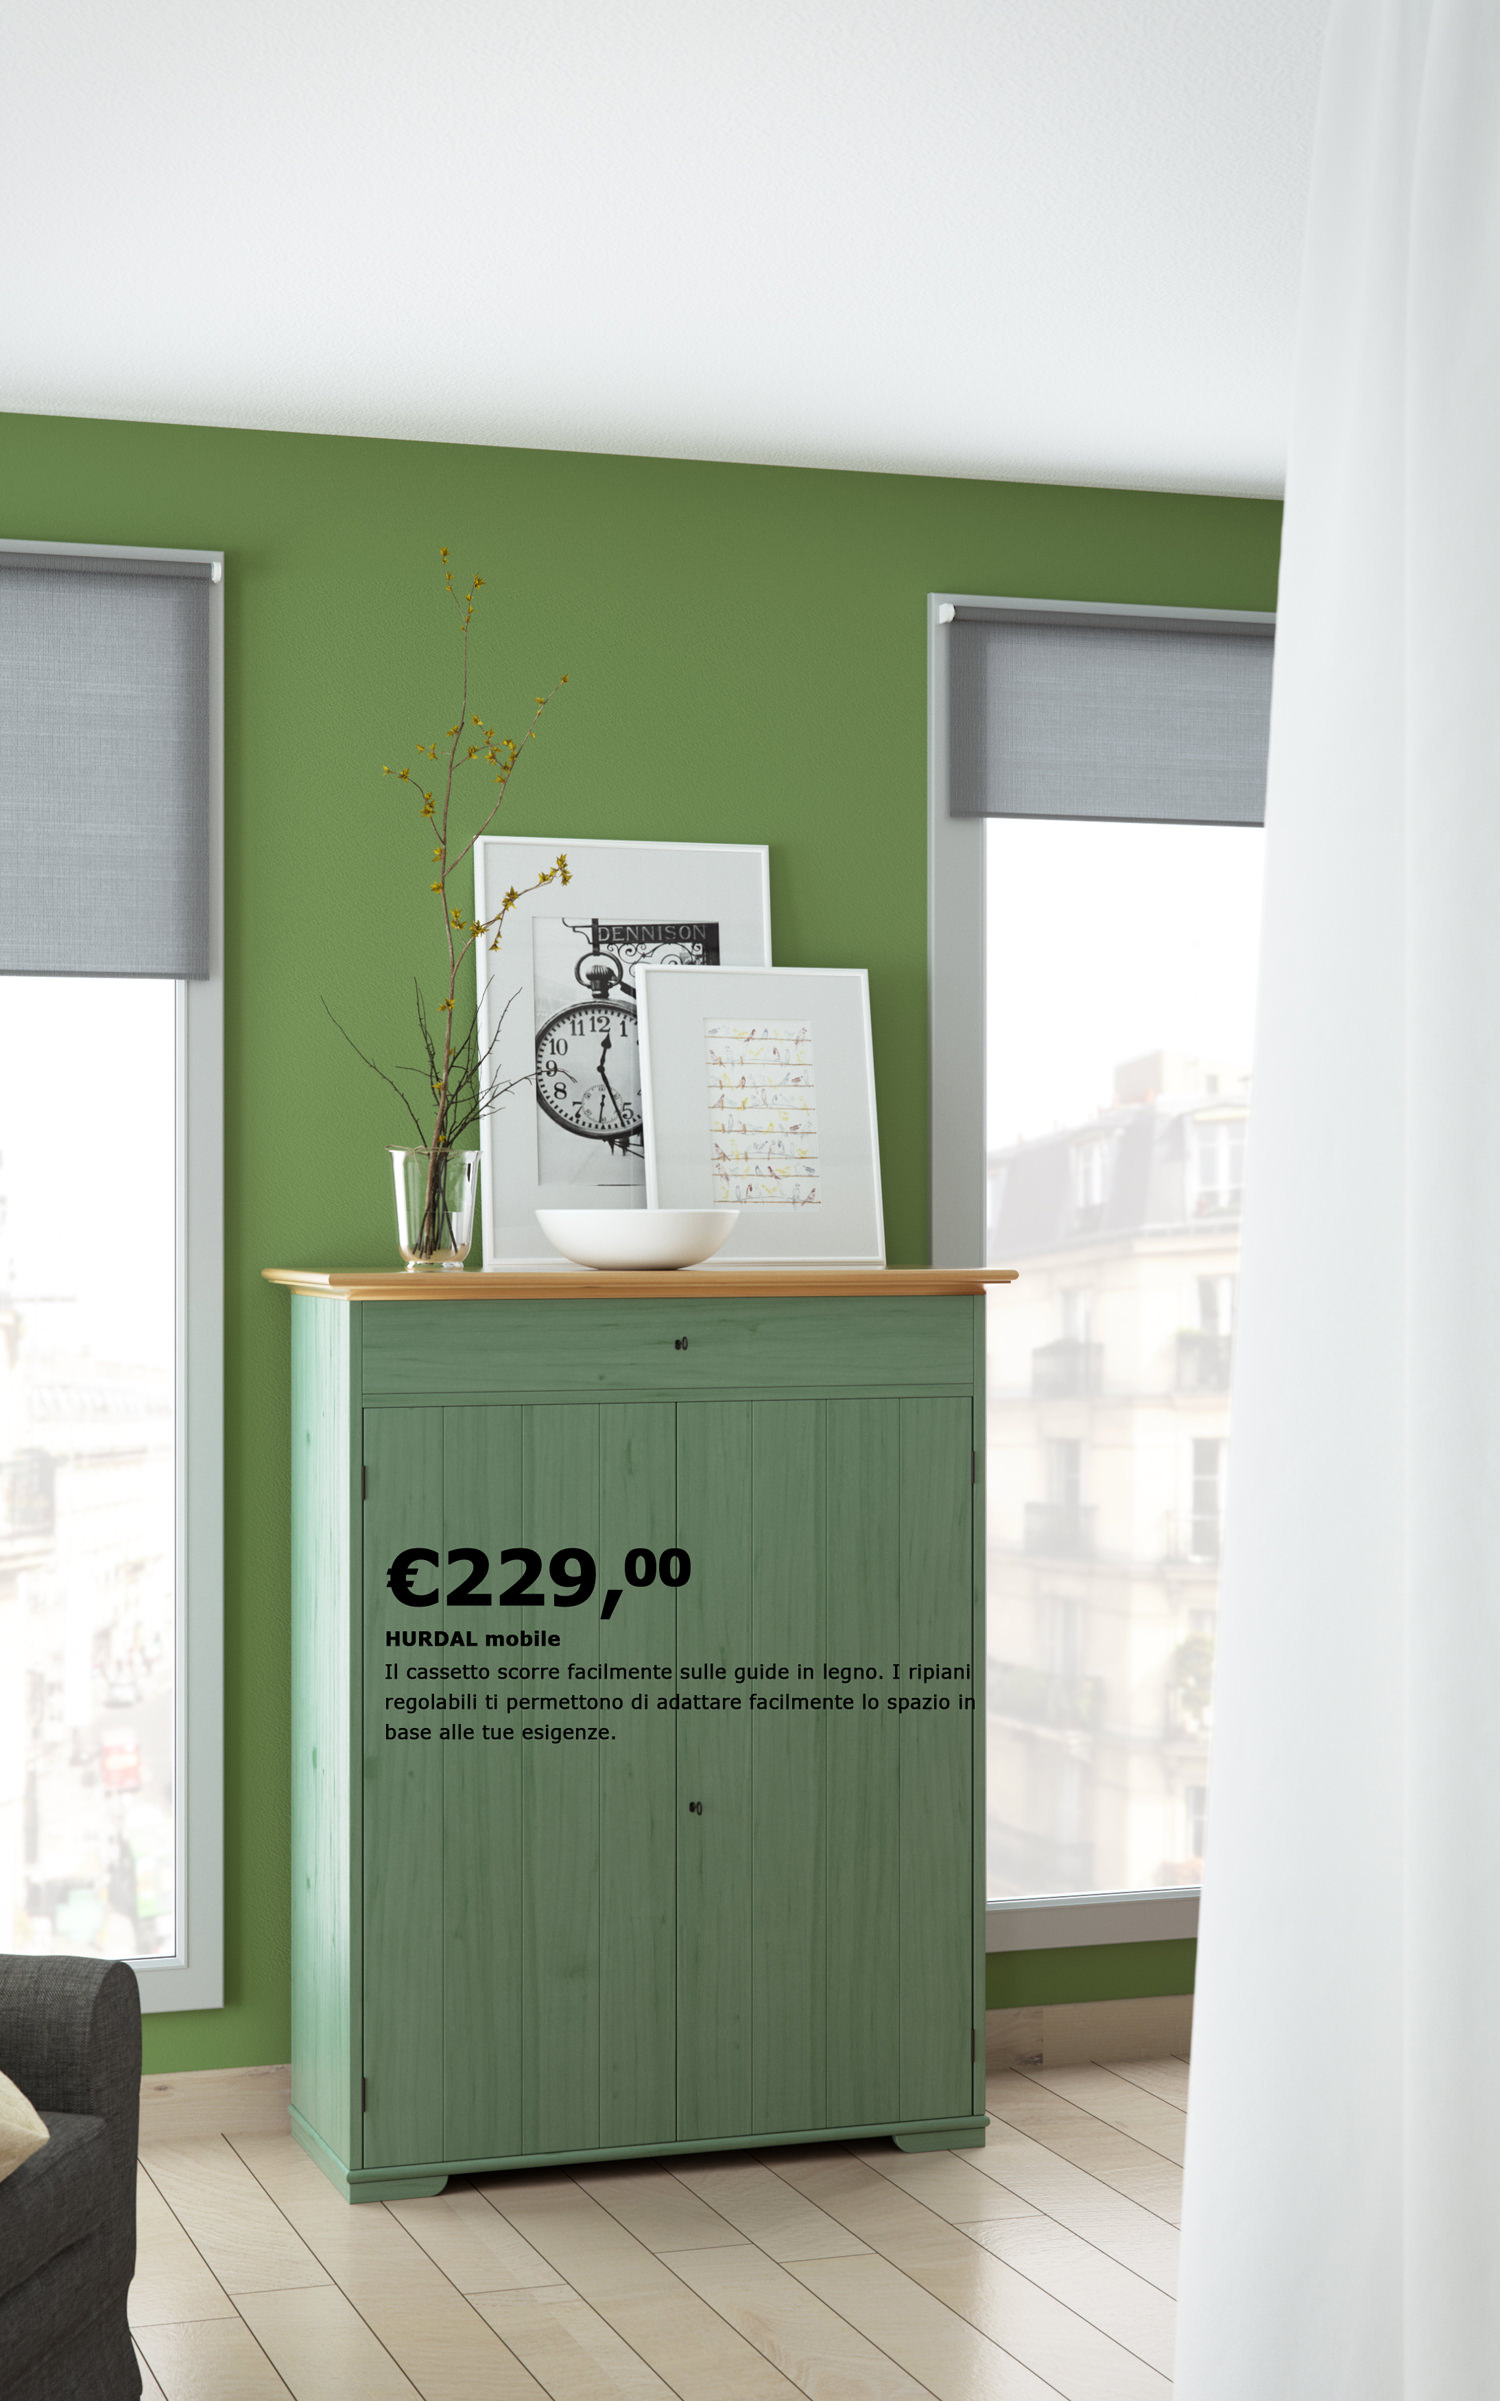
Shop Ikea Hurdal Mobile
[br]
Shop Ikea Hurdal Wardrobe Clothes
[br]
Shop Ikea Jannylund Armchair with Ursula Plaid
[br]
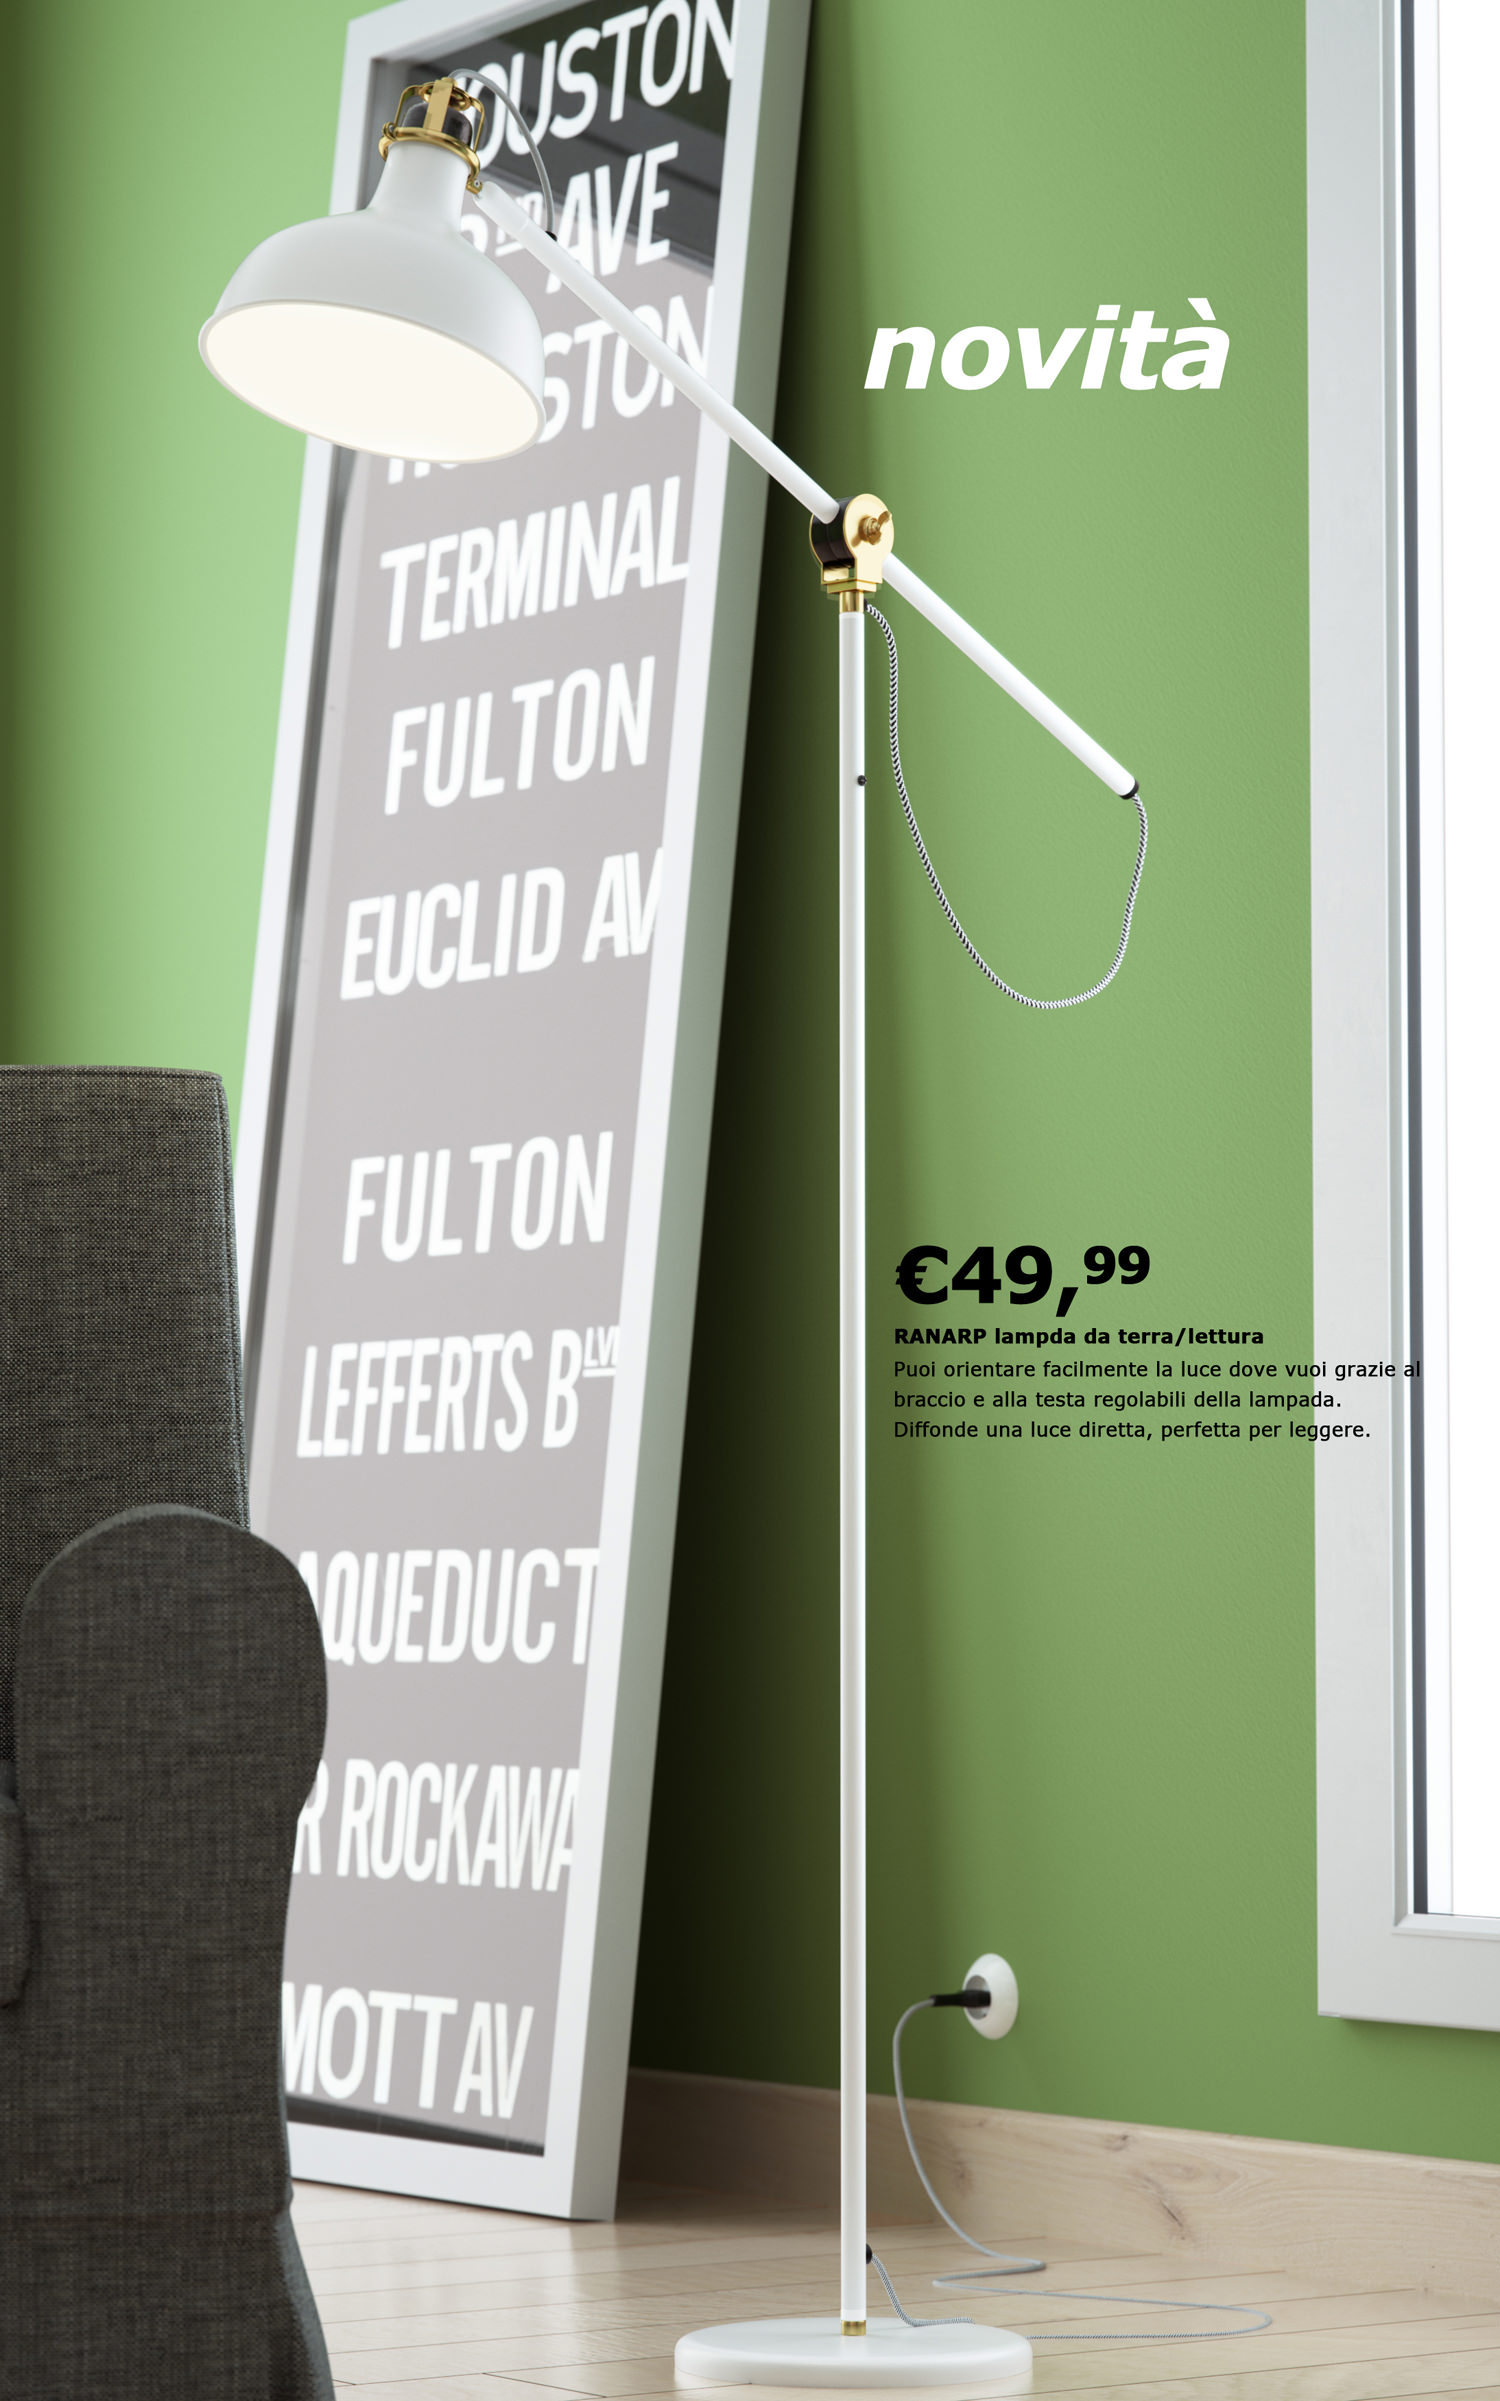
Shop Ikea Ranarp Ground Lamp
[br]
Shop Ikea Ranarp Pendant Lamp
[br]
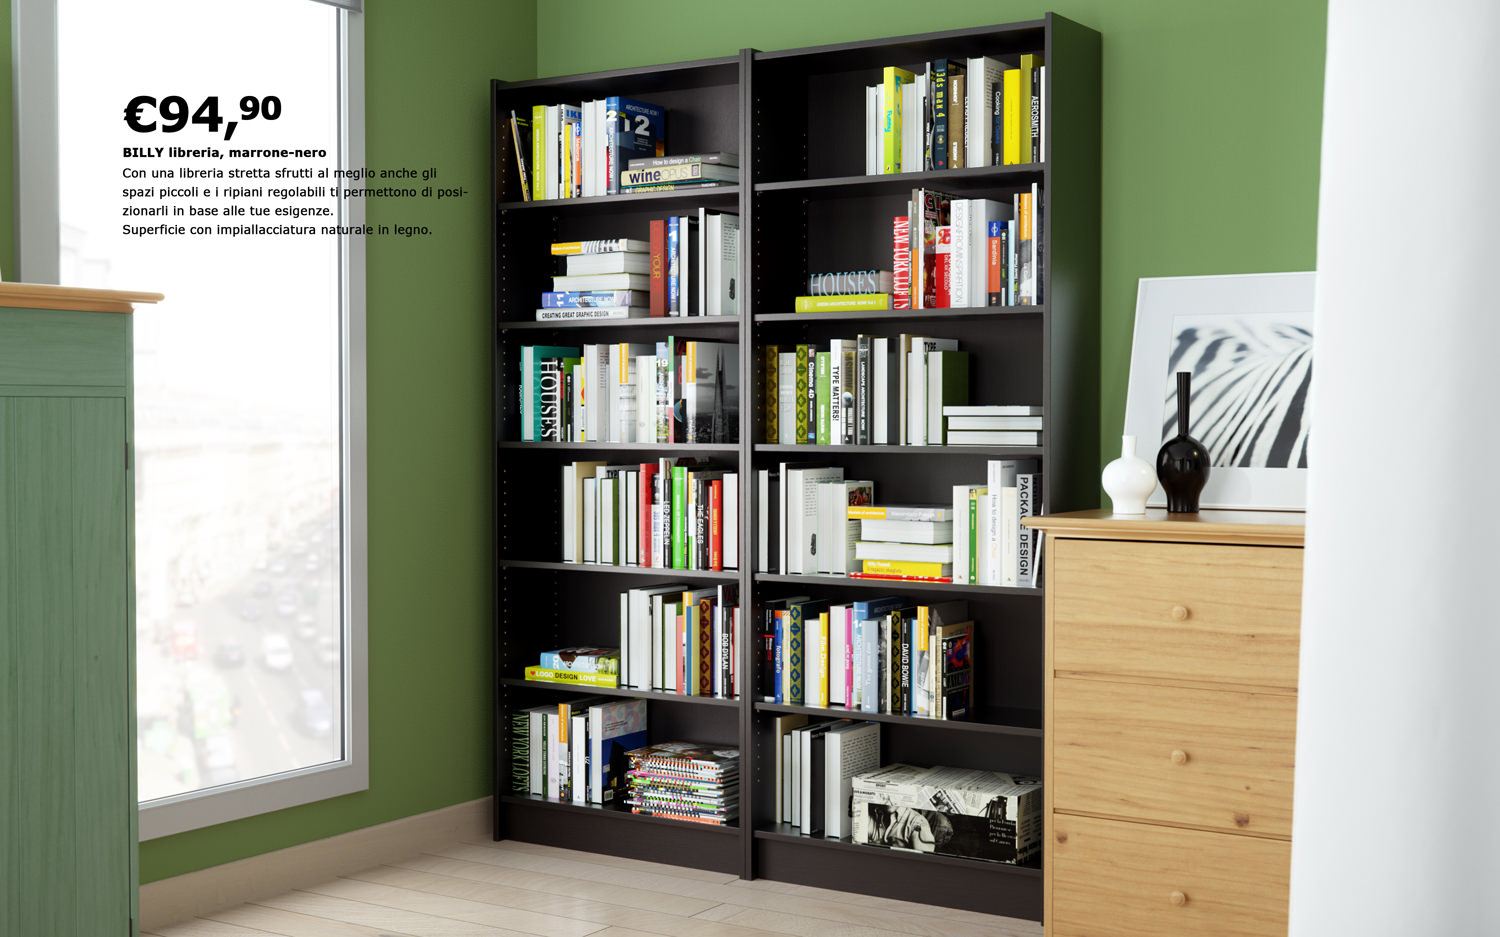
Shop Ikea Bookcase Billy with Books
[br]
[br]
[br]
[br]

[br]
[br]

[br]
[br]
[br]